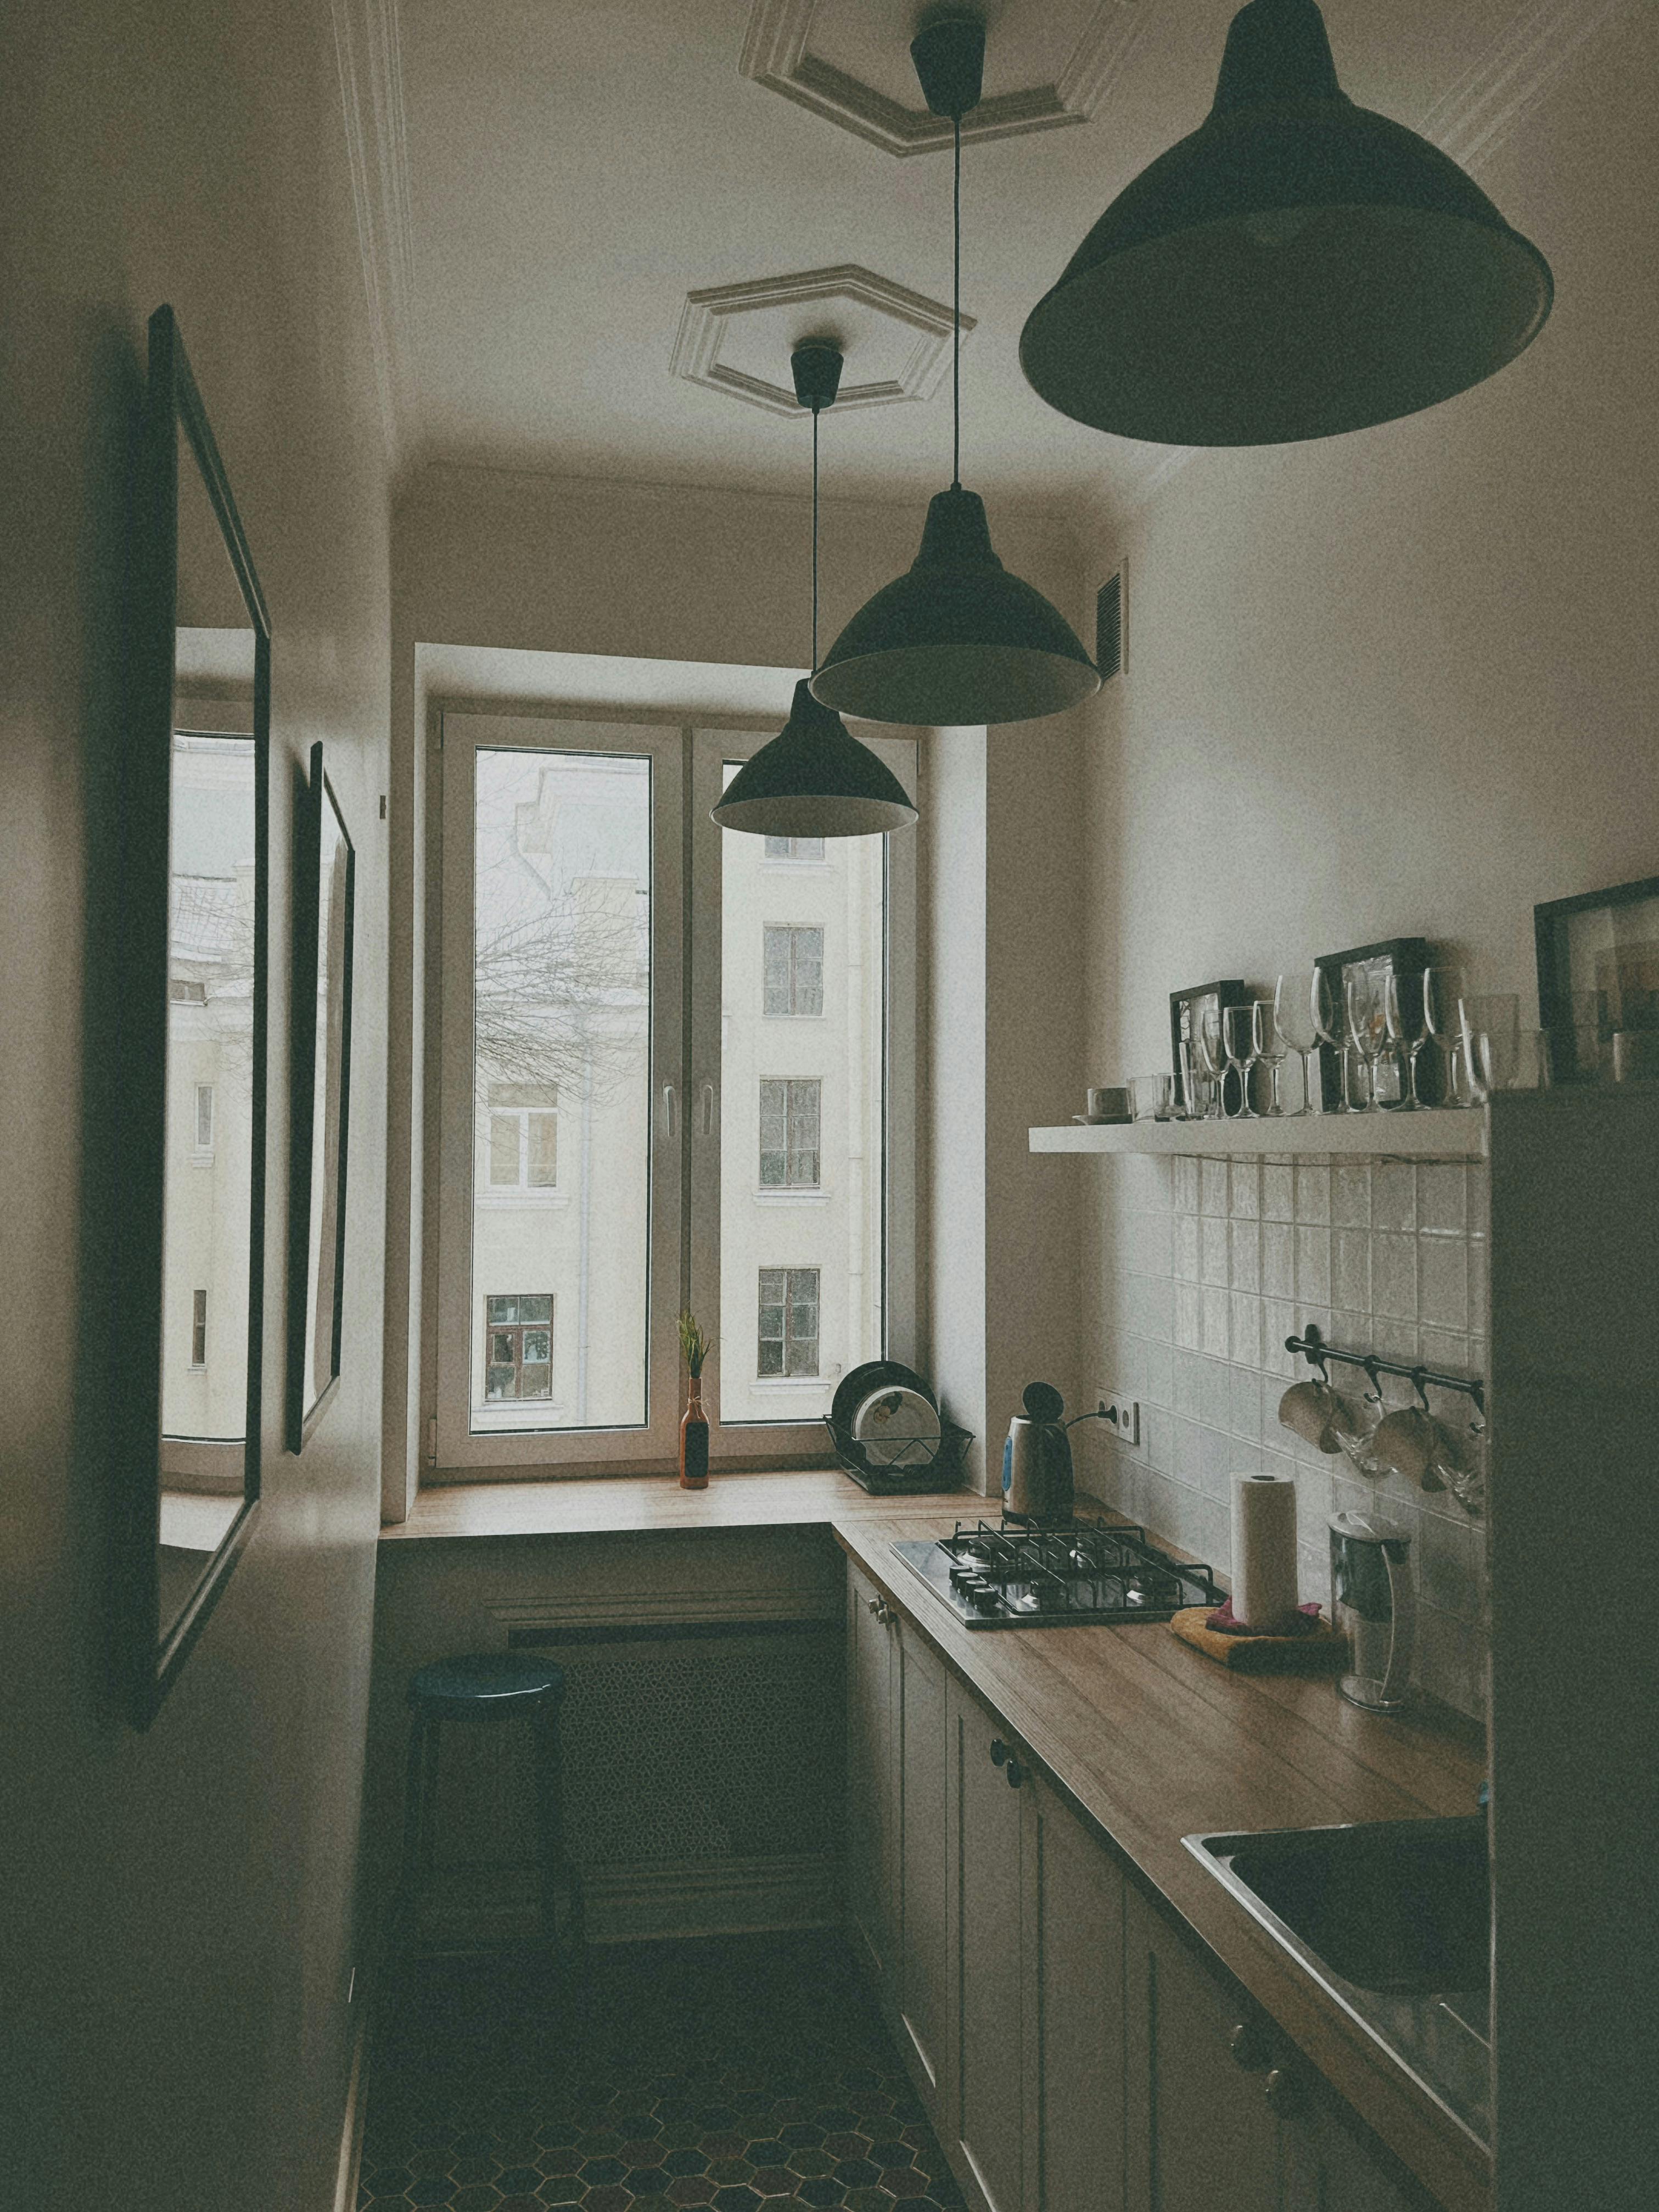
Reference photograph · daylight, suspended pendants and a lit bench run — three sources doing three different jobs in one narrow room
SERVICE 11 · SELECTION ROOM · MALVERN
Kitchen lighting, set out in three layers
A kitchen is lit badly when one ceiling grid is asked to do everything. Task light on the bench, ambient light in the room and feature light over the island are separate decisions with separate switching — and all three are drawn on the plan before a single cable is pulled.
Still reading around the subject? Start with the kitchen lighting guide.
THE THREE LAYERS
Three layers, one switching plan
Each layer is specified as its own circuit so it can be used alone. Chopping vegetables at seven in the morning and sitting at the island at nine at night are not the same lighting condition, and one switch cannot serve both.
01
Task
Light on the working surface
Under-cabinet strip · in-drawer · directional downlight
Continuous warm-white strip run along the front edge of the overhead cabinet, not the back, so the light falls onto the bench instead of onto the splashback. Where there are no overheads, task light comes from downlights set forward of the cabinet face.
02
Ambient
Light in the room itself
Ceiling downlights · dimmable · even spacing
The general wash that lets you walk through, unpack shopping and read the room. Fewer fittings than most grids assume, spaced against the ceiling and the joinery line rather than dropped in at equal centres and left to fall where they land.
03
Feature
Light you are meant to see
Island pendants · shelf and plinth light · glass cabinet interiors
Pendants, lit open shelving and low-level joinery light give the room an evening setting. This layer is decorative first, so it is chosen alongside the cabinet fronts and hardware rather than after them.
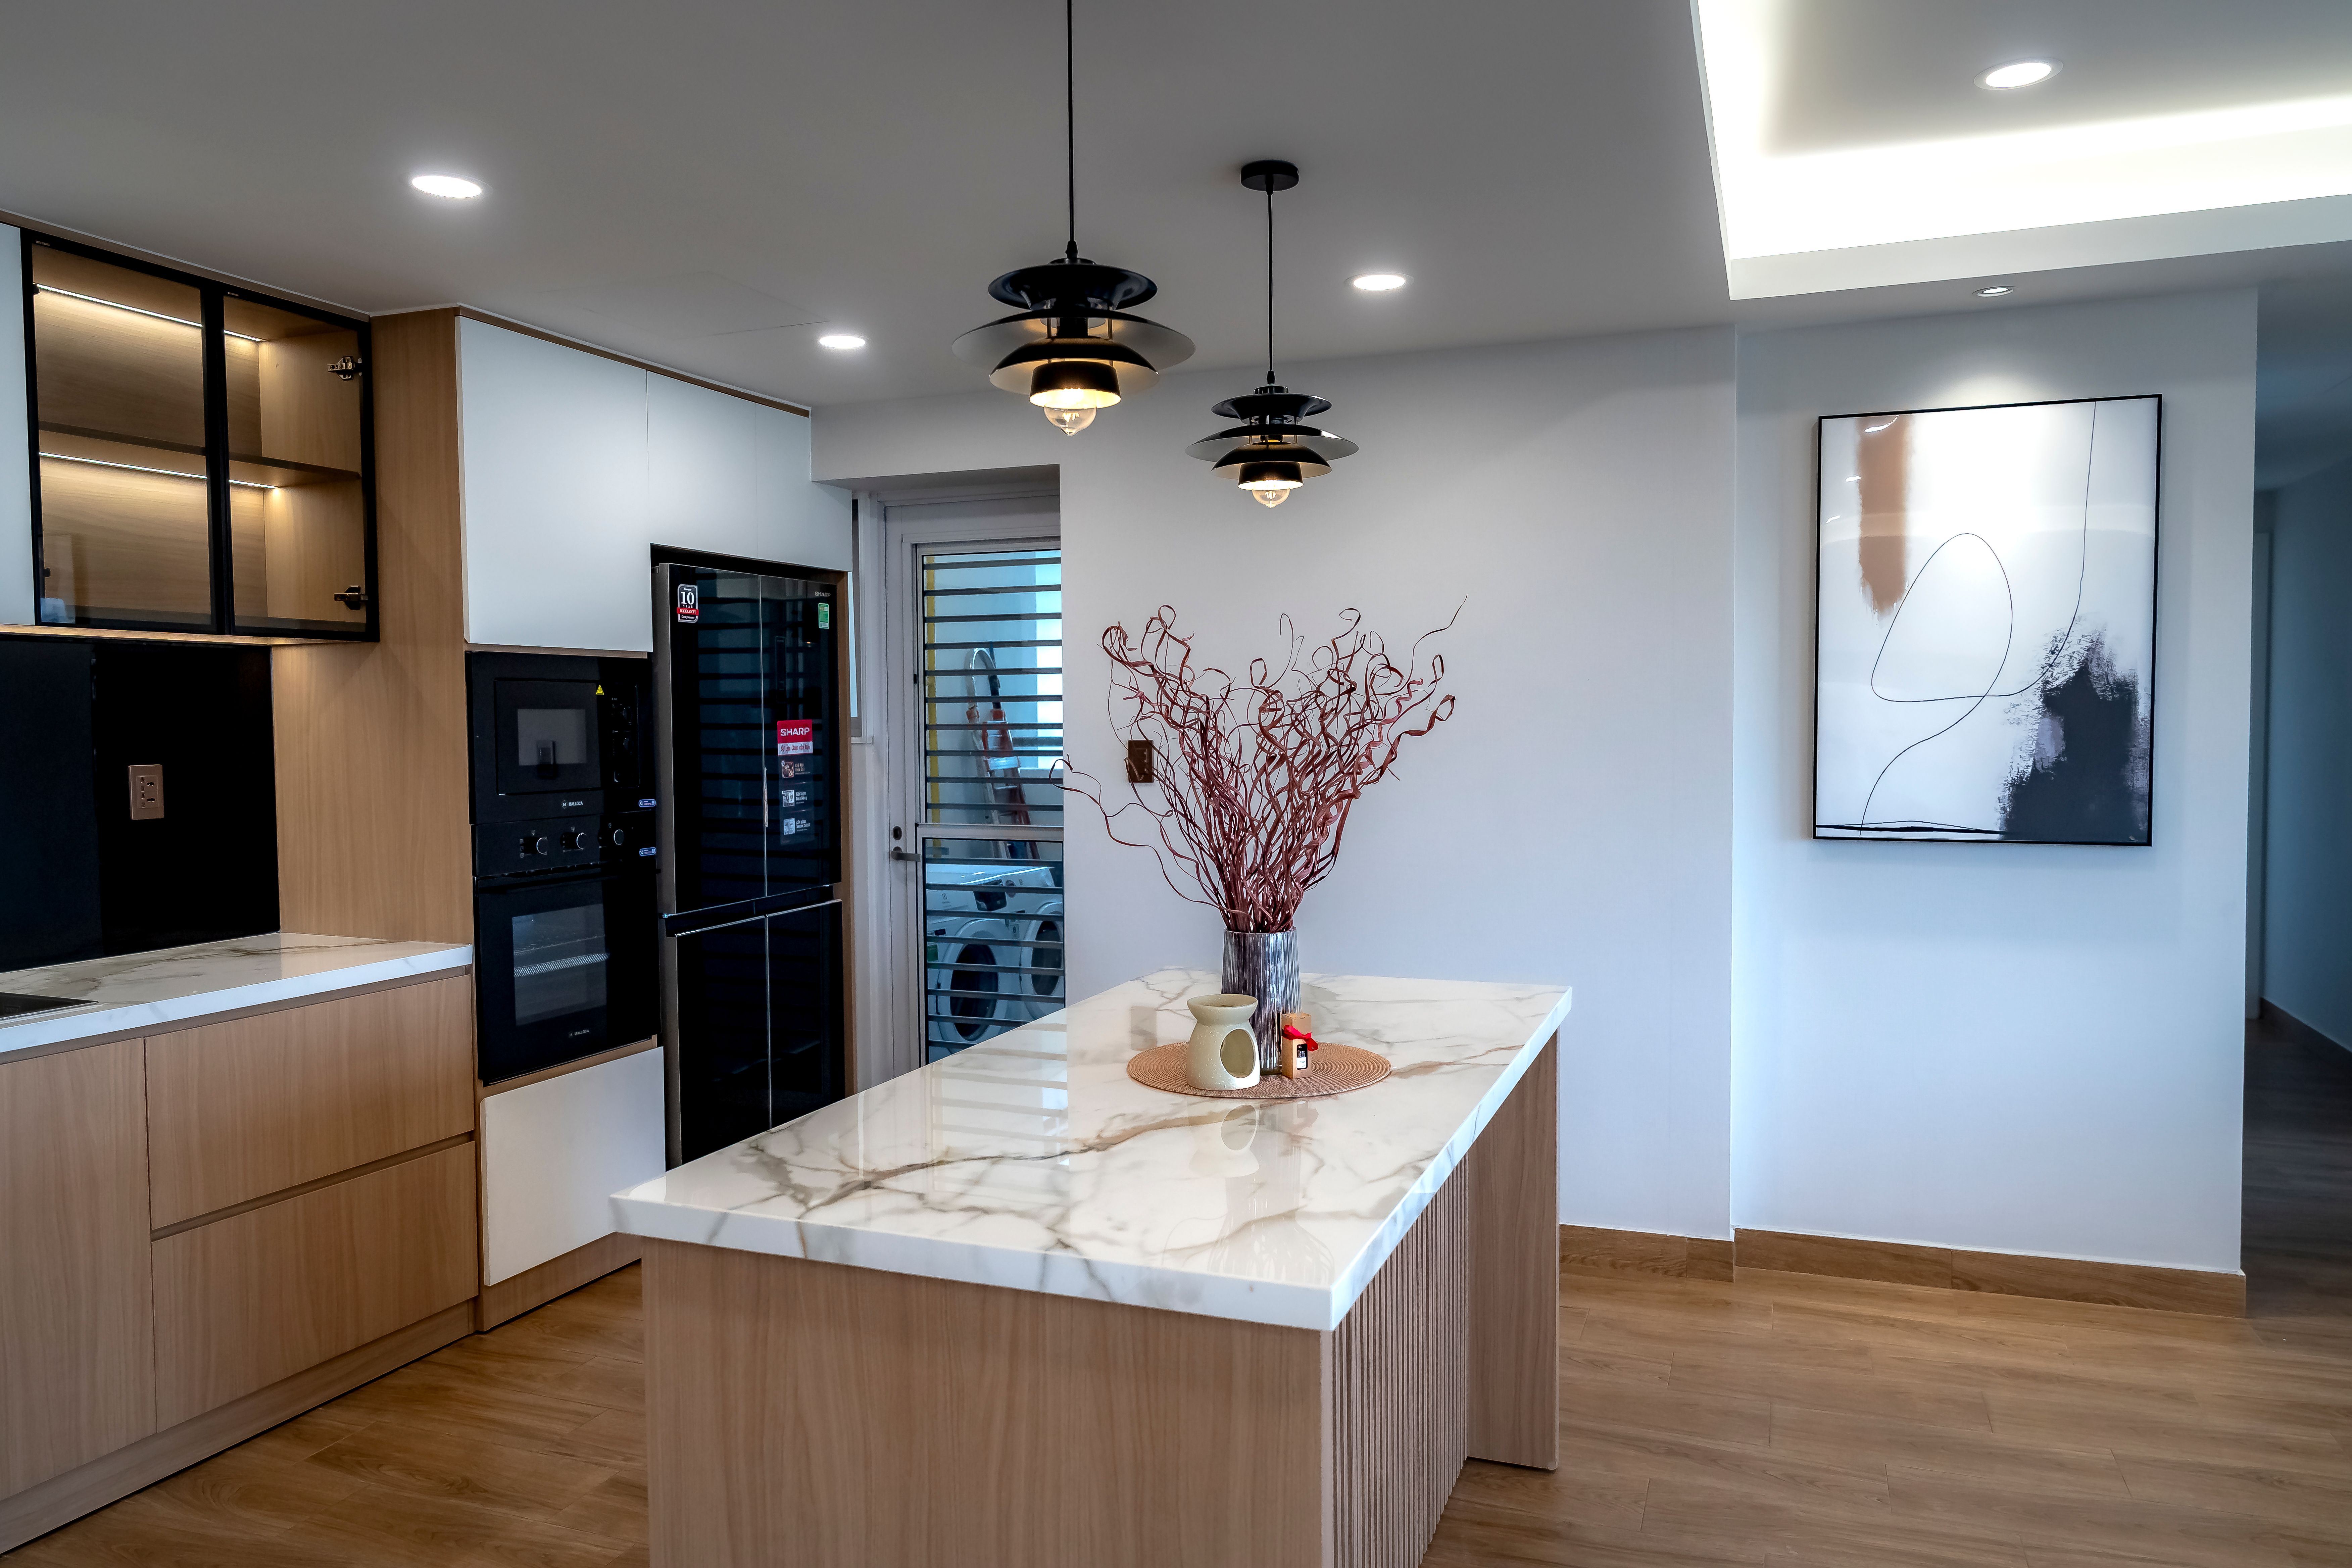
Reference photograph · recessed ceiling light, island pendants and lit joinery read together from floor to bench — an illustration of the three layers, not a Kitchen Renovation Malvern project.
READING THE ROOM ABOVE
Where the light actually lands
Follow the photograph from the floor up. The plinth sits in shadow, the drawer fronts read as one uninterrupted surface, the bench is bright where the work happens, and the pendants hang low enough to define the island without cutting the sightline across it. Nothing glares off the stone, because the fittings sit forward of the bench edge instead of directly above it. That is the whole brief: light the surfaces, not the ceiling — and put the visible fittings where they have a reason to be seen.
Downlights
Set forward of the bench edge
Positioned so you stand in front of the beam rather than in its shadow. Spacing is set against the joinery line and the ceiling battens, then confirmed on plan before the ceiling is closed.
Under-cabinet
Strip at the front, shielded
A recessed channel or shadow-line batten hides the diodes so you see lit stone, not a row of dots reflected in a polished splashback.
Pendants
Hung to the island, not the room
Drop height is judged against seated eye level and the sightline through the kitchen. Fixing points are set out from the island centreline once the benchtop is templated.
Interior light
Inside drawers and pantries
Sensor-switched light in deep drawers, walk-in pantries and appliance garages, coordinated with the internal fit-out under storage solutions.
COLOUR TEMPERATURE
Warmth, and how it changes your surfaces
Stone, timber and paint all shift under different colour temperatures. Keep one temperature across every layer, then use dimming — not a cooler globe — when you need more light.
2700K
Warm · lamp-like · evening
Flatters timber and warm-white cabinetry, softens an open-plan kitchen that sits beside a living area. Can make cool greys look muddy.
3000K
Warm white · the usual answer
Holds white marble-look surfaces close to their showroom colour while staying comfortable at night. The default across all three layers unless a palette argues otherwise.
4000K
Neutral · crisp · unforgiving
Useful inside a butler’s pantry or a windowless prep zone. In the main room it can read clinical against warm joinery, so it is used deliberately or not at all.
WHEN IT IS DECIDED
Drawn at design, roughed in before the plaster
Lighting is the one element that cannot be retrofitted quietly. Every fitting, circuit and switch position belongs to four stages of the twelve-step process, and the first of them happens long before demolition.
03 Design — fittings, circuits and switch positions are marked on the plan alongside the joinery, as part of kitchen design.
04 Quote — the lighting scope is itemised with the rest of the works rather than left as a provisional line.
07 Services preparation — cabling, driver locations and transformer access are roughed in while walls and ceilings are open.
08 Cabinetry — channels and shadow lines for strip light are machined into the joinery, not stuck on afterwards.
11 Appliances & finishing — fittings hung, pendants levelled, dimmers set and each circuit tested against its intended use.
SWITCHING & PLACEMENT
Questions that come up on site
More answers sit on the renovation FAQ, or you can put your own question through the contact form.
How many switches should a kitchen have?
One per layer at minimum, grouped at the main entry point so ambient, task and feature light can be run independently. Where a kitchen has two approaches, the ambient circuit is two-way switched at both.
Does everything need to be dimmable?
Ambient and feature layers benefit most. Dimming is specified at design stage because the driver and the switch have to be matched to the fitting — retro-fitting a dimmer to the wrong driver is where flicker comes from.
Can under-cabinet light be added to an existing kitchen?
Often yes, if there is a power source nearby and somewhere discreet for the driver. It is a common inclusion in a kitchen makeover, where the doors and benchtop change but the carcasses stay.
Why do my pendants look off-centre?
Usually because they were set out from the ceiling or the room, not from the island. Fixing points are marked against the finished bench dimensions, which is why the pendant positions are confirmed after templating rather than during demolition.
NEXT STEP
Bring the plan, or bring the room
Lighting is quoted as part of the works, so the conversation starts the same way a full renovation does — the room, the layout you want and the surfaces you are drawn to. We work across Malvern, Malvern East, Armadale, Toorak, Glen Iris, Kooyong, Prahran, South Yarra and Caulfield North; the full list is on service areas.