METHOD · SELECTION ROOM · MALVERN
Twelve stages, in the only order they work in
A kitchen renovation is not twelve independent jobs that happen to be booked in a row. It is one chain, and every link takes its dimensions from the one before it: the design comes out of the measure, the quote comes out of the design, and the benchtop is templated off cabinetry that is already standing and scribed to the wall. This page sets out all twelve stages — what happens, what you decide, what the house has to provide, and why the order cannot be shuffled.
The full sequence applies to a complete kitchen renovation. A makeover uses the same order with the structural stages removed.
FOUR PHASES · TWELVE STAGES
Plan 01–04
Consultation, measure, design, quote
Select 05
Surfaces, fronts, hardware, light
Prepare 06–07
Strip-out and services rough-in
Build 08–12
Cabinetry through to handover
PHASE ONE · STAGES 01–04
Plan
Nothing is ordered and nothing is demolished in the first four stages. Everything exists as dimensions and drawings, which is precisely where a change of mind costs a pencil line rather than a cut sheet of stone.
Related: Kitchen Design · Layout ideas
01
Consultation
In the existing kitchen · scope and intent · nothing measured yet
The first conversation happens standing in the room. How the household actually cooks, what fails now — bench space, storage, traffic through the room, light at the sink — and whether the answer is a refresh, a layout change or a full rebuild. Scope is settled here, because scope governs every stage that follows.
Decided here: scope — makeover, remodel or complete renovation.
02
Measure
Physical survey · walls, services, levels · recorded as built
Wall lines, ceiling height, window and door reveals, floor level, and the existing positions of water, waste, gas and power. Period homes in Malvern and Armadale are rarely square, and that is not a problem as long as it is known before anything is drawn. Every later dimension descends from this survey.
Required from the home: clear access to the walls being measured.
03
Design
Drawn to the survey · layout, elevations, appliance positions
Layout first — galley, L, U or island — then cabinet runs, drawer banks, tall storage, appliance positions and the clearances between them. Door swings, bin location and the walking line between sink, cooktop and fridge are resolved on the plan. This is kitchen design proper, and it is also where internal storage is allocated rather than left to chance.
Decided here: layout, appliance list, cabinetry configuration.
04
Quote
Written against the drawing · scope itemised · inclusions stated
A quote can only be as specific as the design it is written against, which is why it sits at stage four and not stage one. It sets out the work included, the trades involved and the allowances made for selections still to be finalised. What moves a figure up or down is explained in the guide to what drives kitchen renovation cost.
Decided here: whether the drawn kitchen proceeds as scoped.
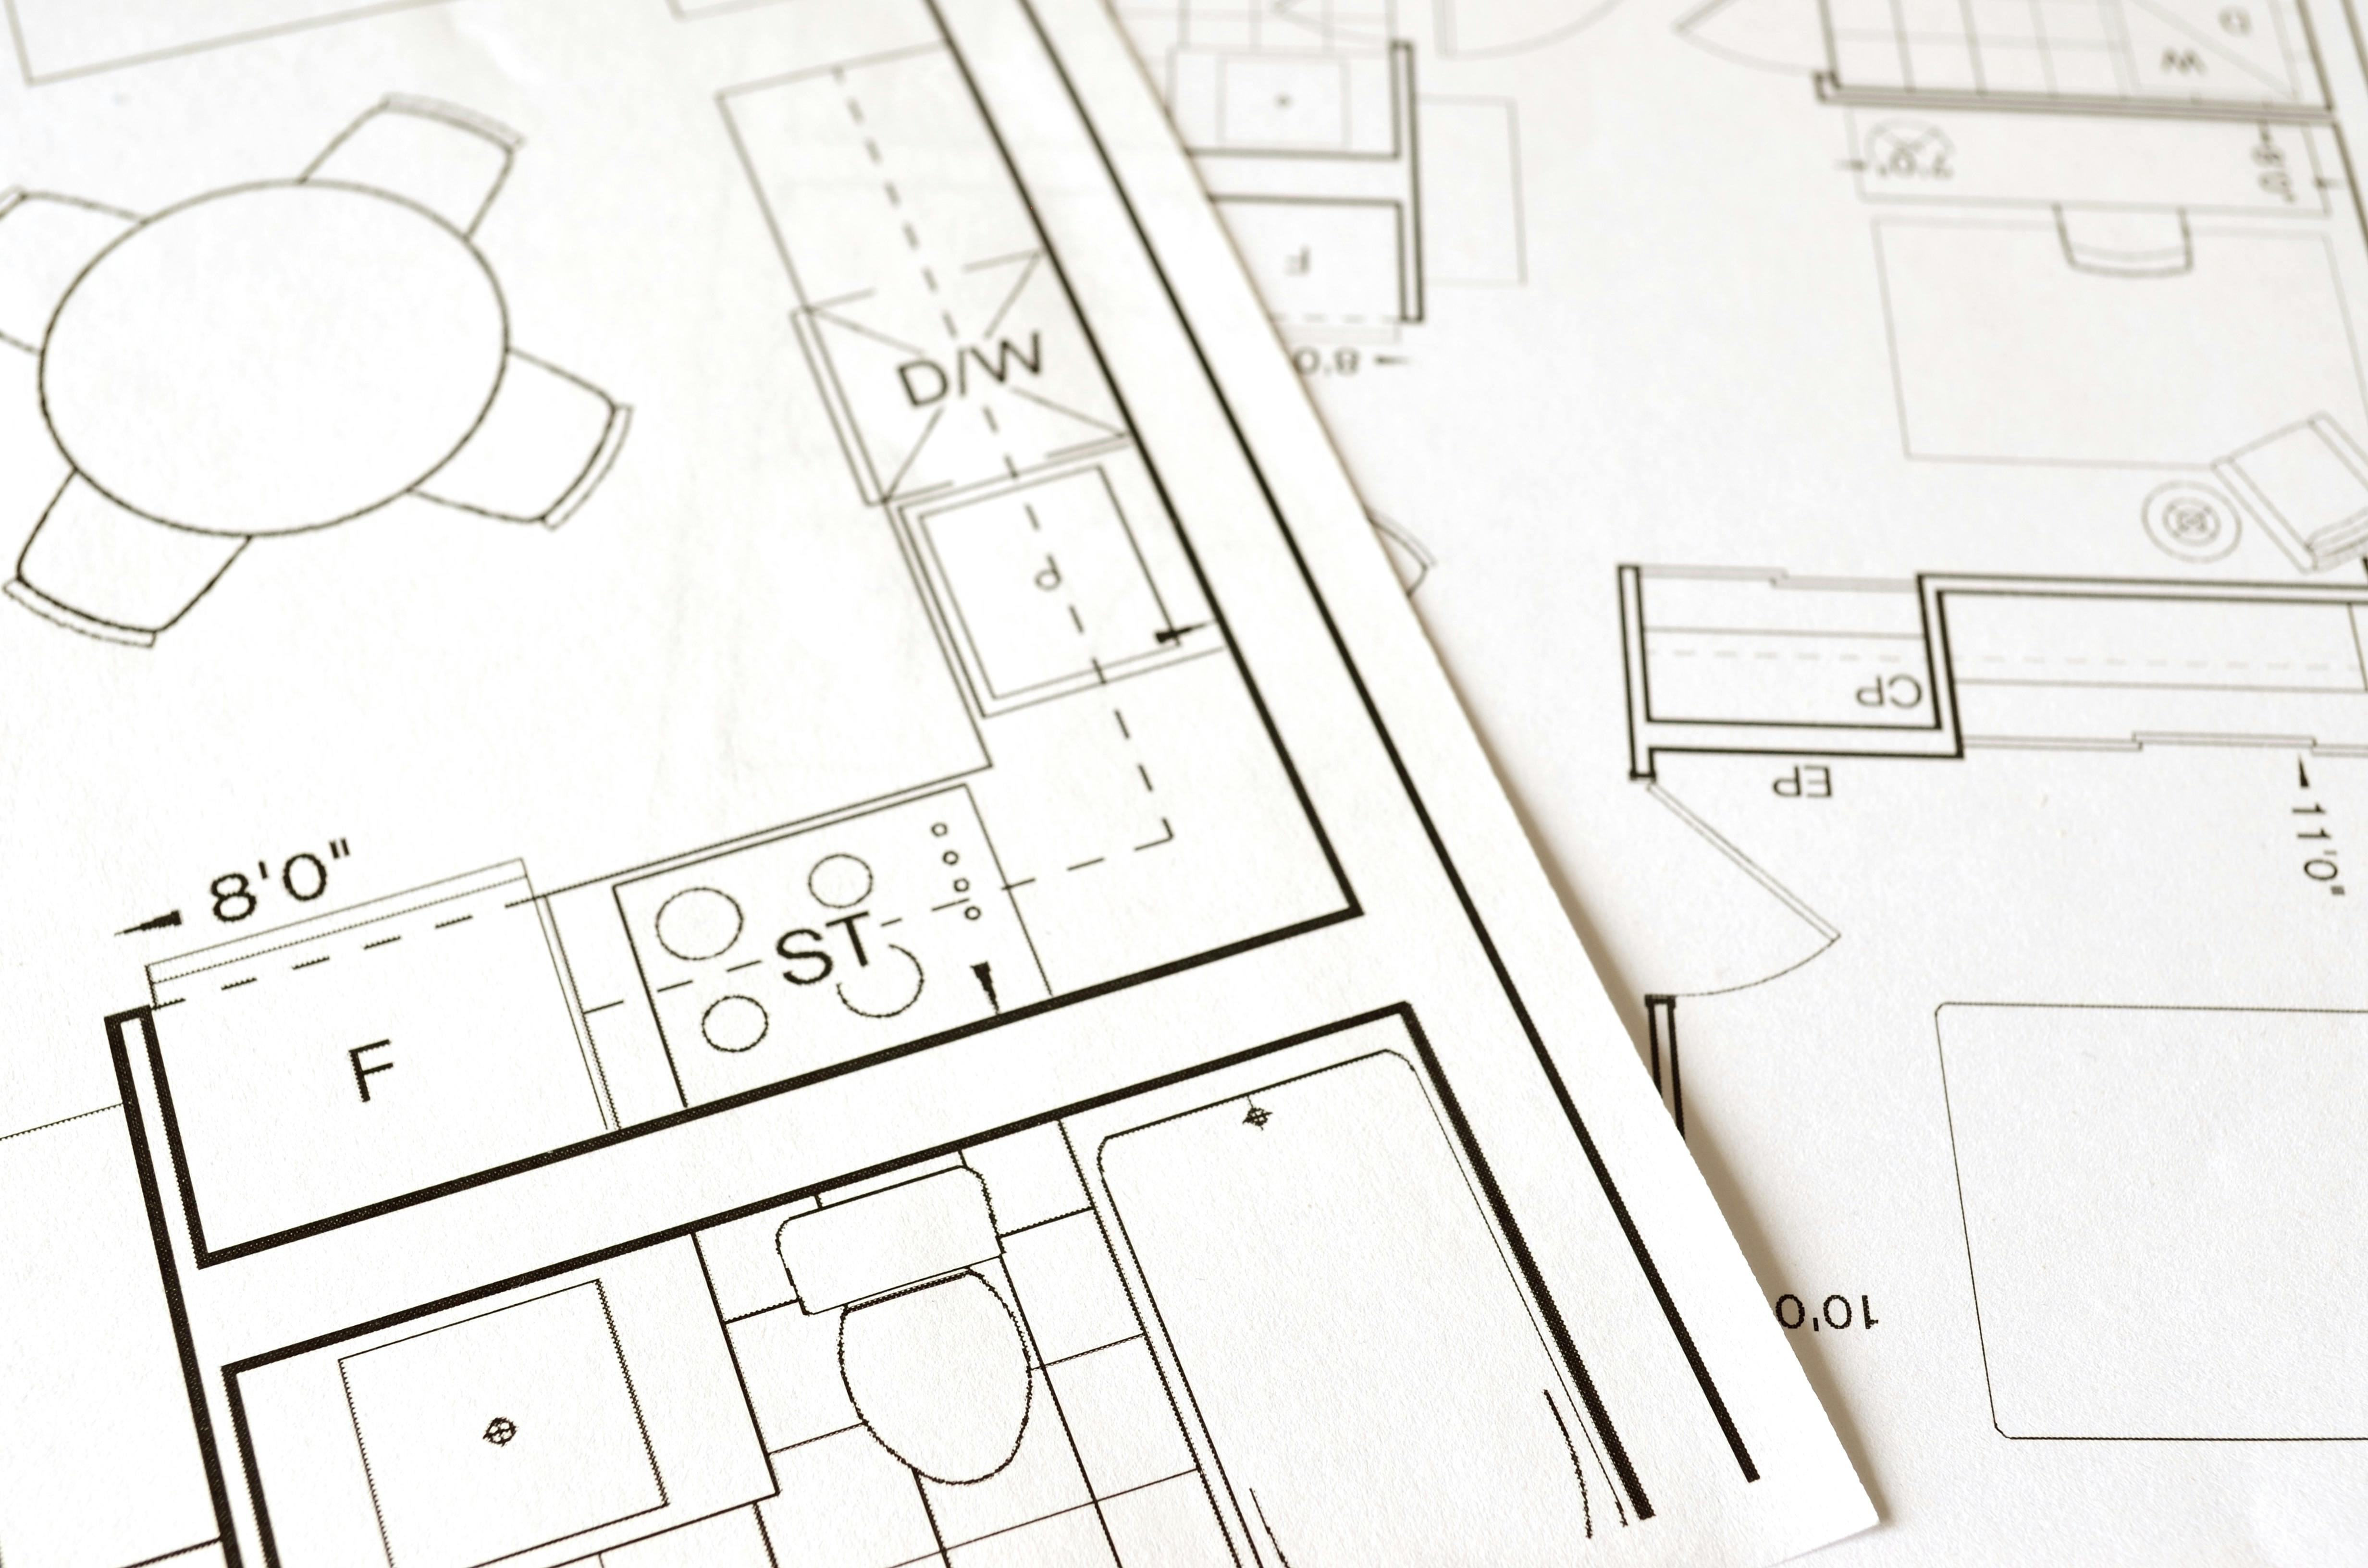
Reference photograph · a measured plan with fixture positions and dimensions — the document stages five through twelve are all working from
PHASES TWO AND THREE · STAGES 05–07
Selections are locked before a single cupboard comes off the wall
The middle of the sequence is where paper becomes product. Materials are chosen and ordered, the old kitchen leaves the house, and the walls are opened up so that services land where the new plan says they should. These three stages are the ones most often run out of order, and that is the single most common reason a renovation stalls with a room already unusable.
05
Material selection
Samples in hand · lead times begin
Benchtop material and edge profile, door finish and colour, splashback, floor and wall tile, handles, tapware and the lighting layers. Selections are made against each other under the same light, not one at a time — a front that reads warm beside a cool slab is a decision, not an accident. Start with benchtops, splashbacks and cabinet fronts.
Depends on: a confirmed design and scope.
06
Removal & demolition
Isolation · strip-out · protection
Water, gas and power are isolated by the relevant trade before anything is removed. Benchtops, cabinetry, appliances and old wall linings come out; floors and the access path through the house are protected; waste leaves the site. Where a wall or an opening is changing, that structural work belongs to remodelling and happens now.
Required from the home: a cleared room and a temporary place to make tea.
07
Services preparation
Rough-in · patching · substrate
Plumbing and electrical are roughed in to the new positions on the plan: sink and dishwasher services, appliance circuits, switching and the cabling for every lighting layer. Walls are patched and made flat, and floor substrate is prepared where tiling follows. Flat walls are what make the next stage sit tight.
Depends on: appliance models confirmed at stage five.
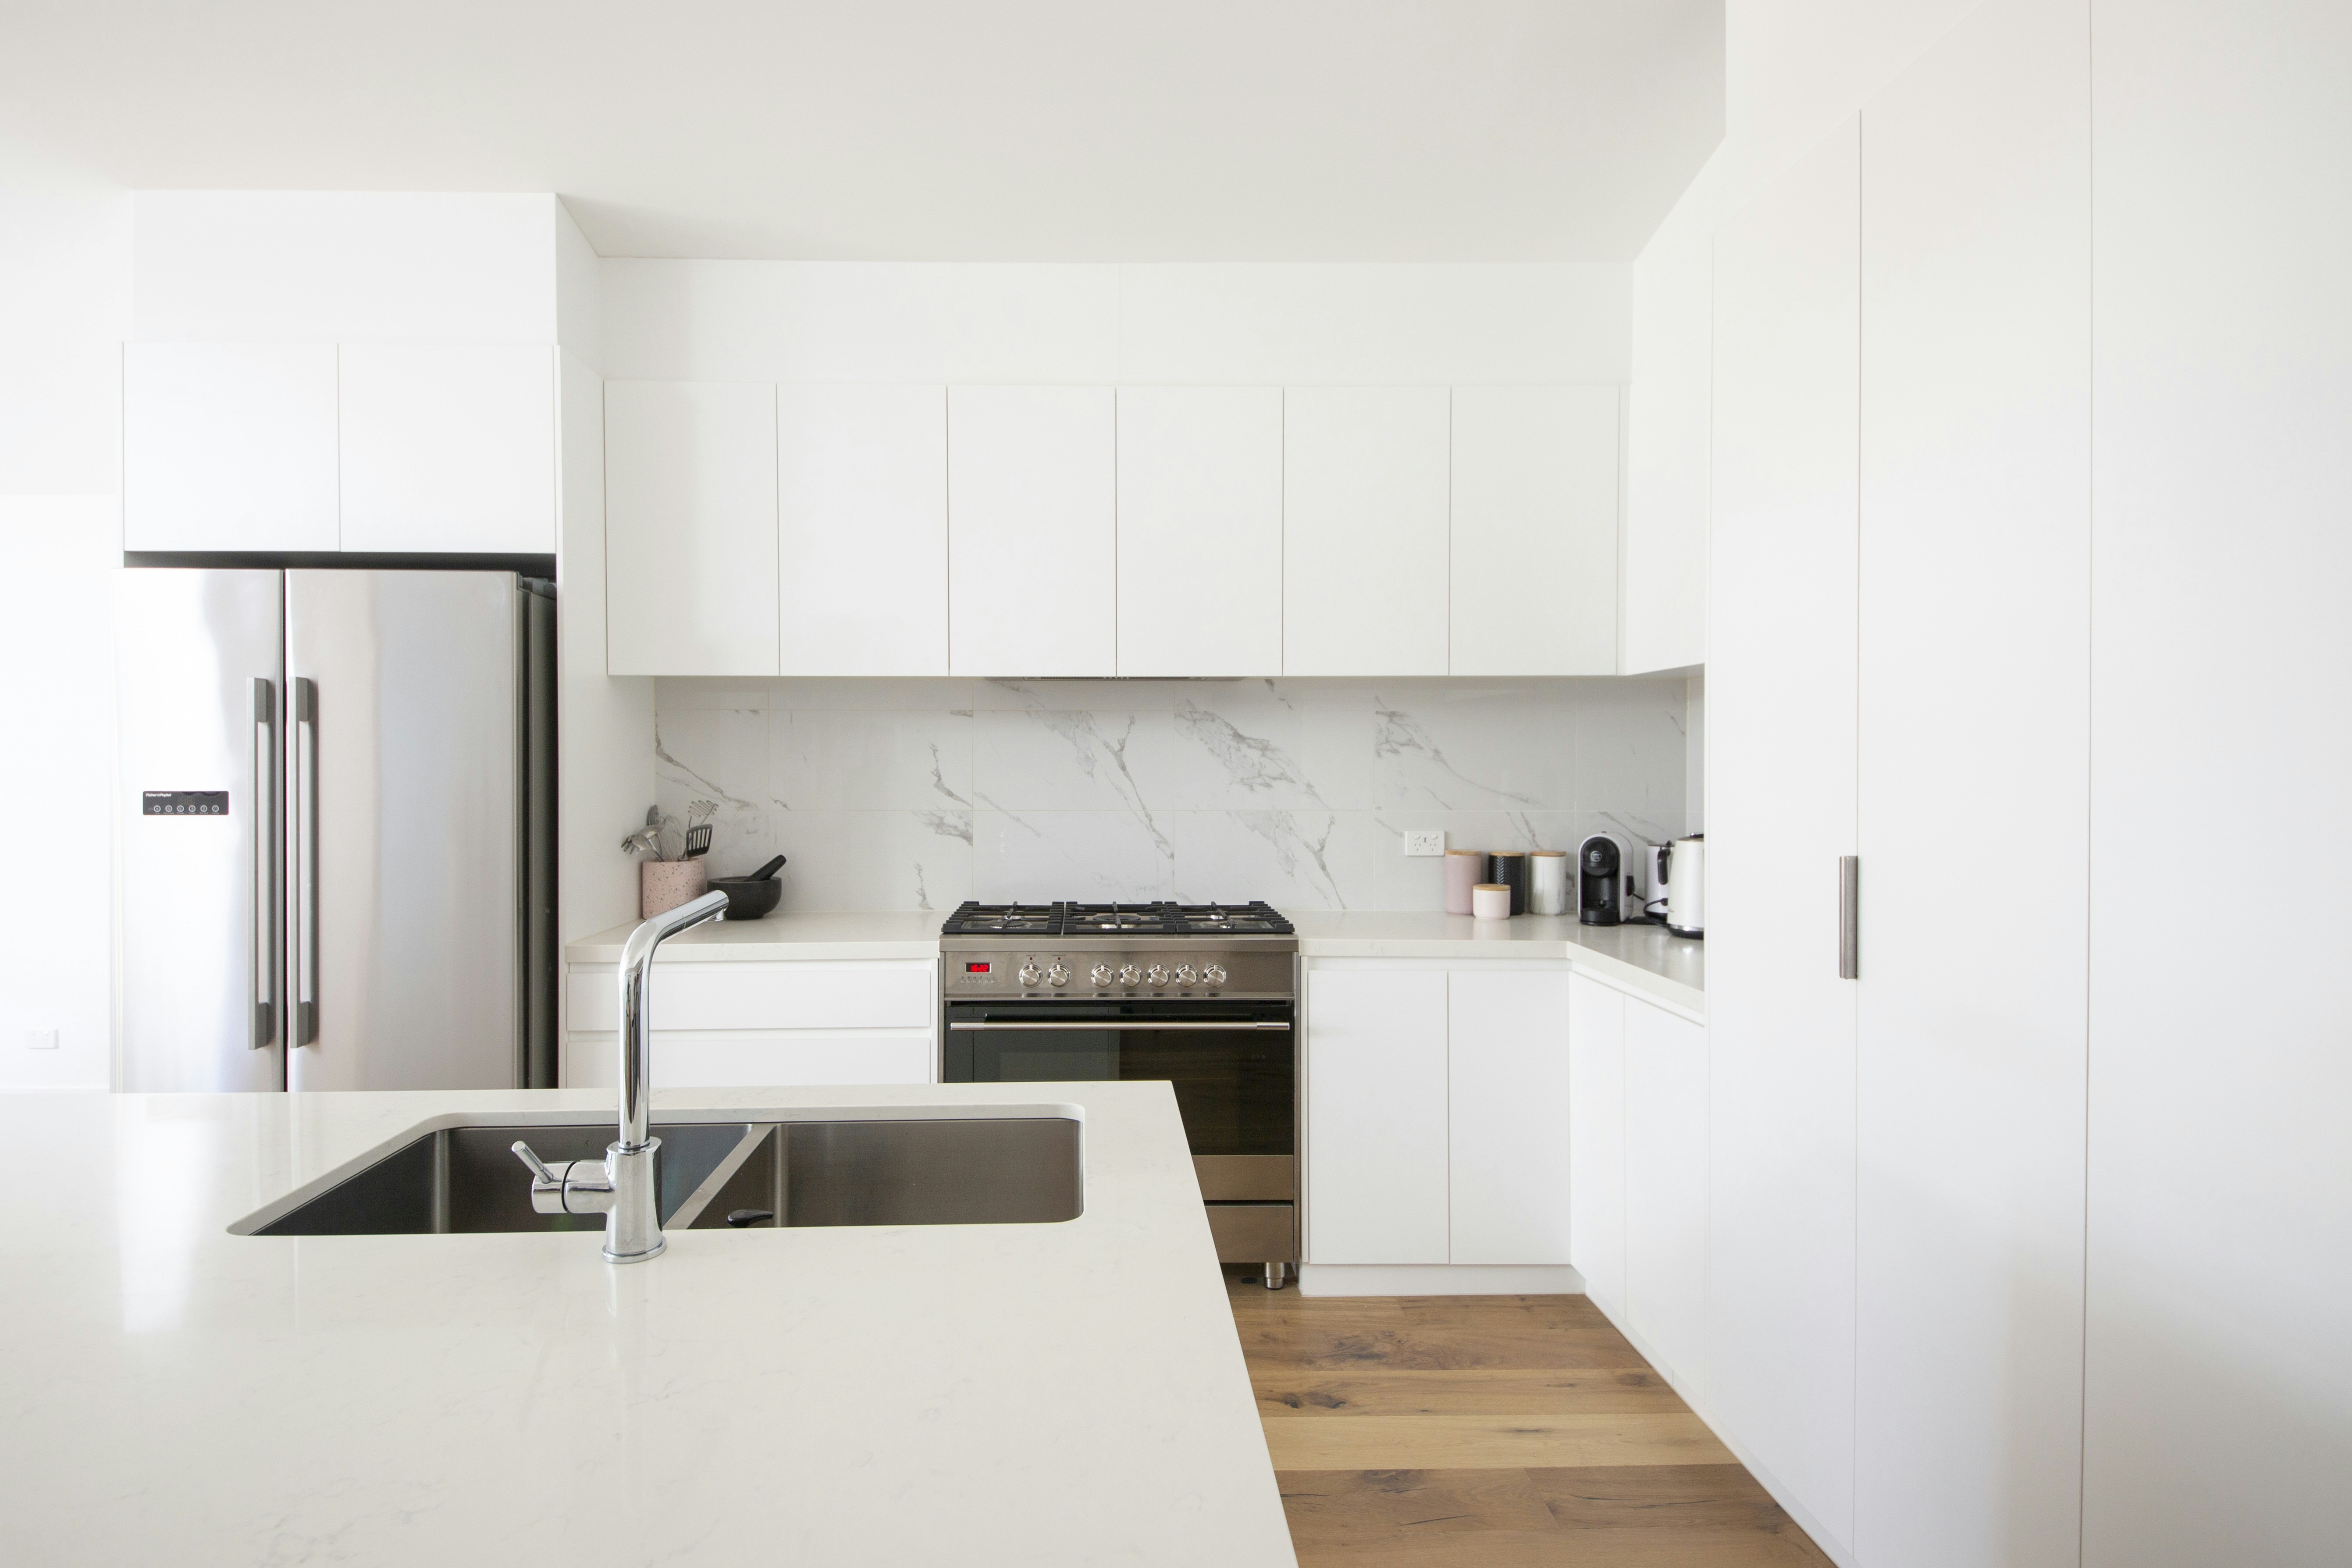
Reference photograph · handleless fronts, a slab splashback continued from the bench and a flush appliance line — the finish stages read as one surface only because they were sequenced
Further reading: how long a kitchen renovation takes · renovation checklist
PHASE FOUR · STAGES 08–12
Build, in the order the trades can actually work
08
Cabinetry
Carcasses are set out, levelled and scribed to walls that are never quite straight, then fixed and fitted with runners, hinges and internal systems. Fronts go on, gaps are set and doors are aligned. This is where custom cabinetry earns its keep in older homes.
09
Benchtops
Templating happens on installed cabinetry, never before it — the template records the real room, including the wall that runs out by a few millimetres. The top is then fabricated with its cut-outs and edge profile and installed as a finished piece. Material options sit on the benchtops page.
10
Splashback
Measured only once the benchtop is in place, because the top sets the bottom line of the wall. Tile, slab or glass is then cut, fixed and finished to the overhead cabinetry or to full height, with returns and grout colour agreed in advance. Detail is covered under splashbacks.
11
Appliances & finishing
Appliances are installed and connected, tapware and sink are plumbed, light fittings are terminated and switched, handles are fitted, and every junction is sealed. Kick boards, end panels, filler pieces and touch-ups belong here — the small work that decides whether the kitchen looks built or assembled.
12
Handover
A walk-through of the finished room: drawers and doors checked and adjusted, appliance and hardware operation demonstrated, appliance documentation passed over, care advice given for the surfaces you selected, and any remaining items listed and closed out. The room goes back to being a kitchen.
WHY THE ORDER HOLDS
Three dependencies that fix the sequence
Measurement precedes design. A layout drawn from assumed dimensions produces cabinetry that does not fit the wall it was made for. The survey at stage two is the reference every later dimension is taken from.
Selection precedes demolition. Appliance dimensions change cabinet sizes, tapware changes hole positions, and a stone slab has to be ordered and fabricated. Choosing late while the room is already stripped is what turns a short disruption into a long one.
Each finish is templated off the one below it. Cabinetry sets the benchtop template; the benchtop sets the splashback line; the splashback sets where the overheads and the rangehood close off. Reverse any pair of those and something has to be scribed, packed or cut on site.
The same twelve stages apply across every service we offer, from a small kitchen renovation to a luxury fit-out — the scope changes, the order does not. Work is carried out in Malvern, Malvern East, Armadale, Toorak, Glen Iris, Kooyong, Prahran, South Yarra and Caulfield North; see service areas.
WHAT THE HOUSE PROVIDES
A A clear path from the front door to the kitchen for deliveries and removals.
B Cupboards emptied and the room cleared before strip-out day.
C A temporary spot elsewhere in the house for kettle, microwave and fridge.
D Access to power and water for trades, and somewhere workable to unload.
E Decisions signed off at stage five and held through the build.
If you are preparing now, the renovation checklist follows these twelve stages item by item.
STAGE ONE
Every kitchen we build starts with a conversation in the room
Tell us the suburb, the kitchen you have now and what you want it to do differently, and the sequence begins where it should — at consultation, with the measure to follow.
Still working out scope? Read complete kitchen renovations against makeovers, browse the projects reference pages, or send a question through the contact form.