SERVICE 09 · SELECTION ROOM · MALVERN
Kitchen splashbacks, measured after the benchtop is in
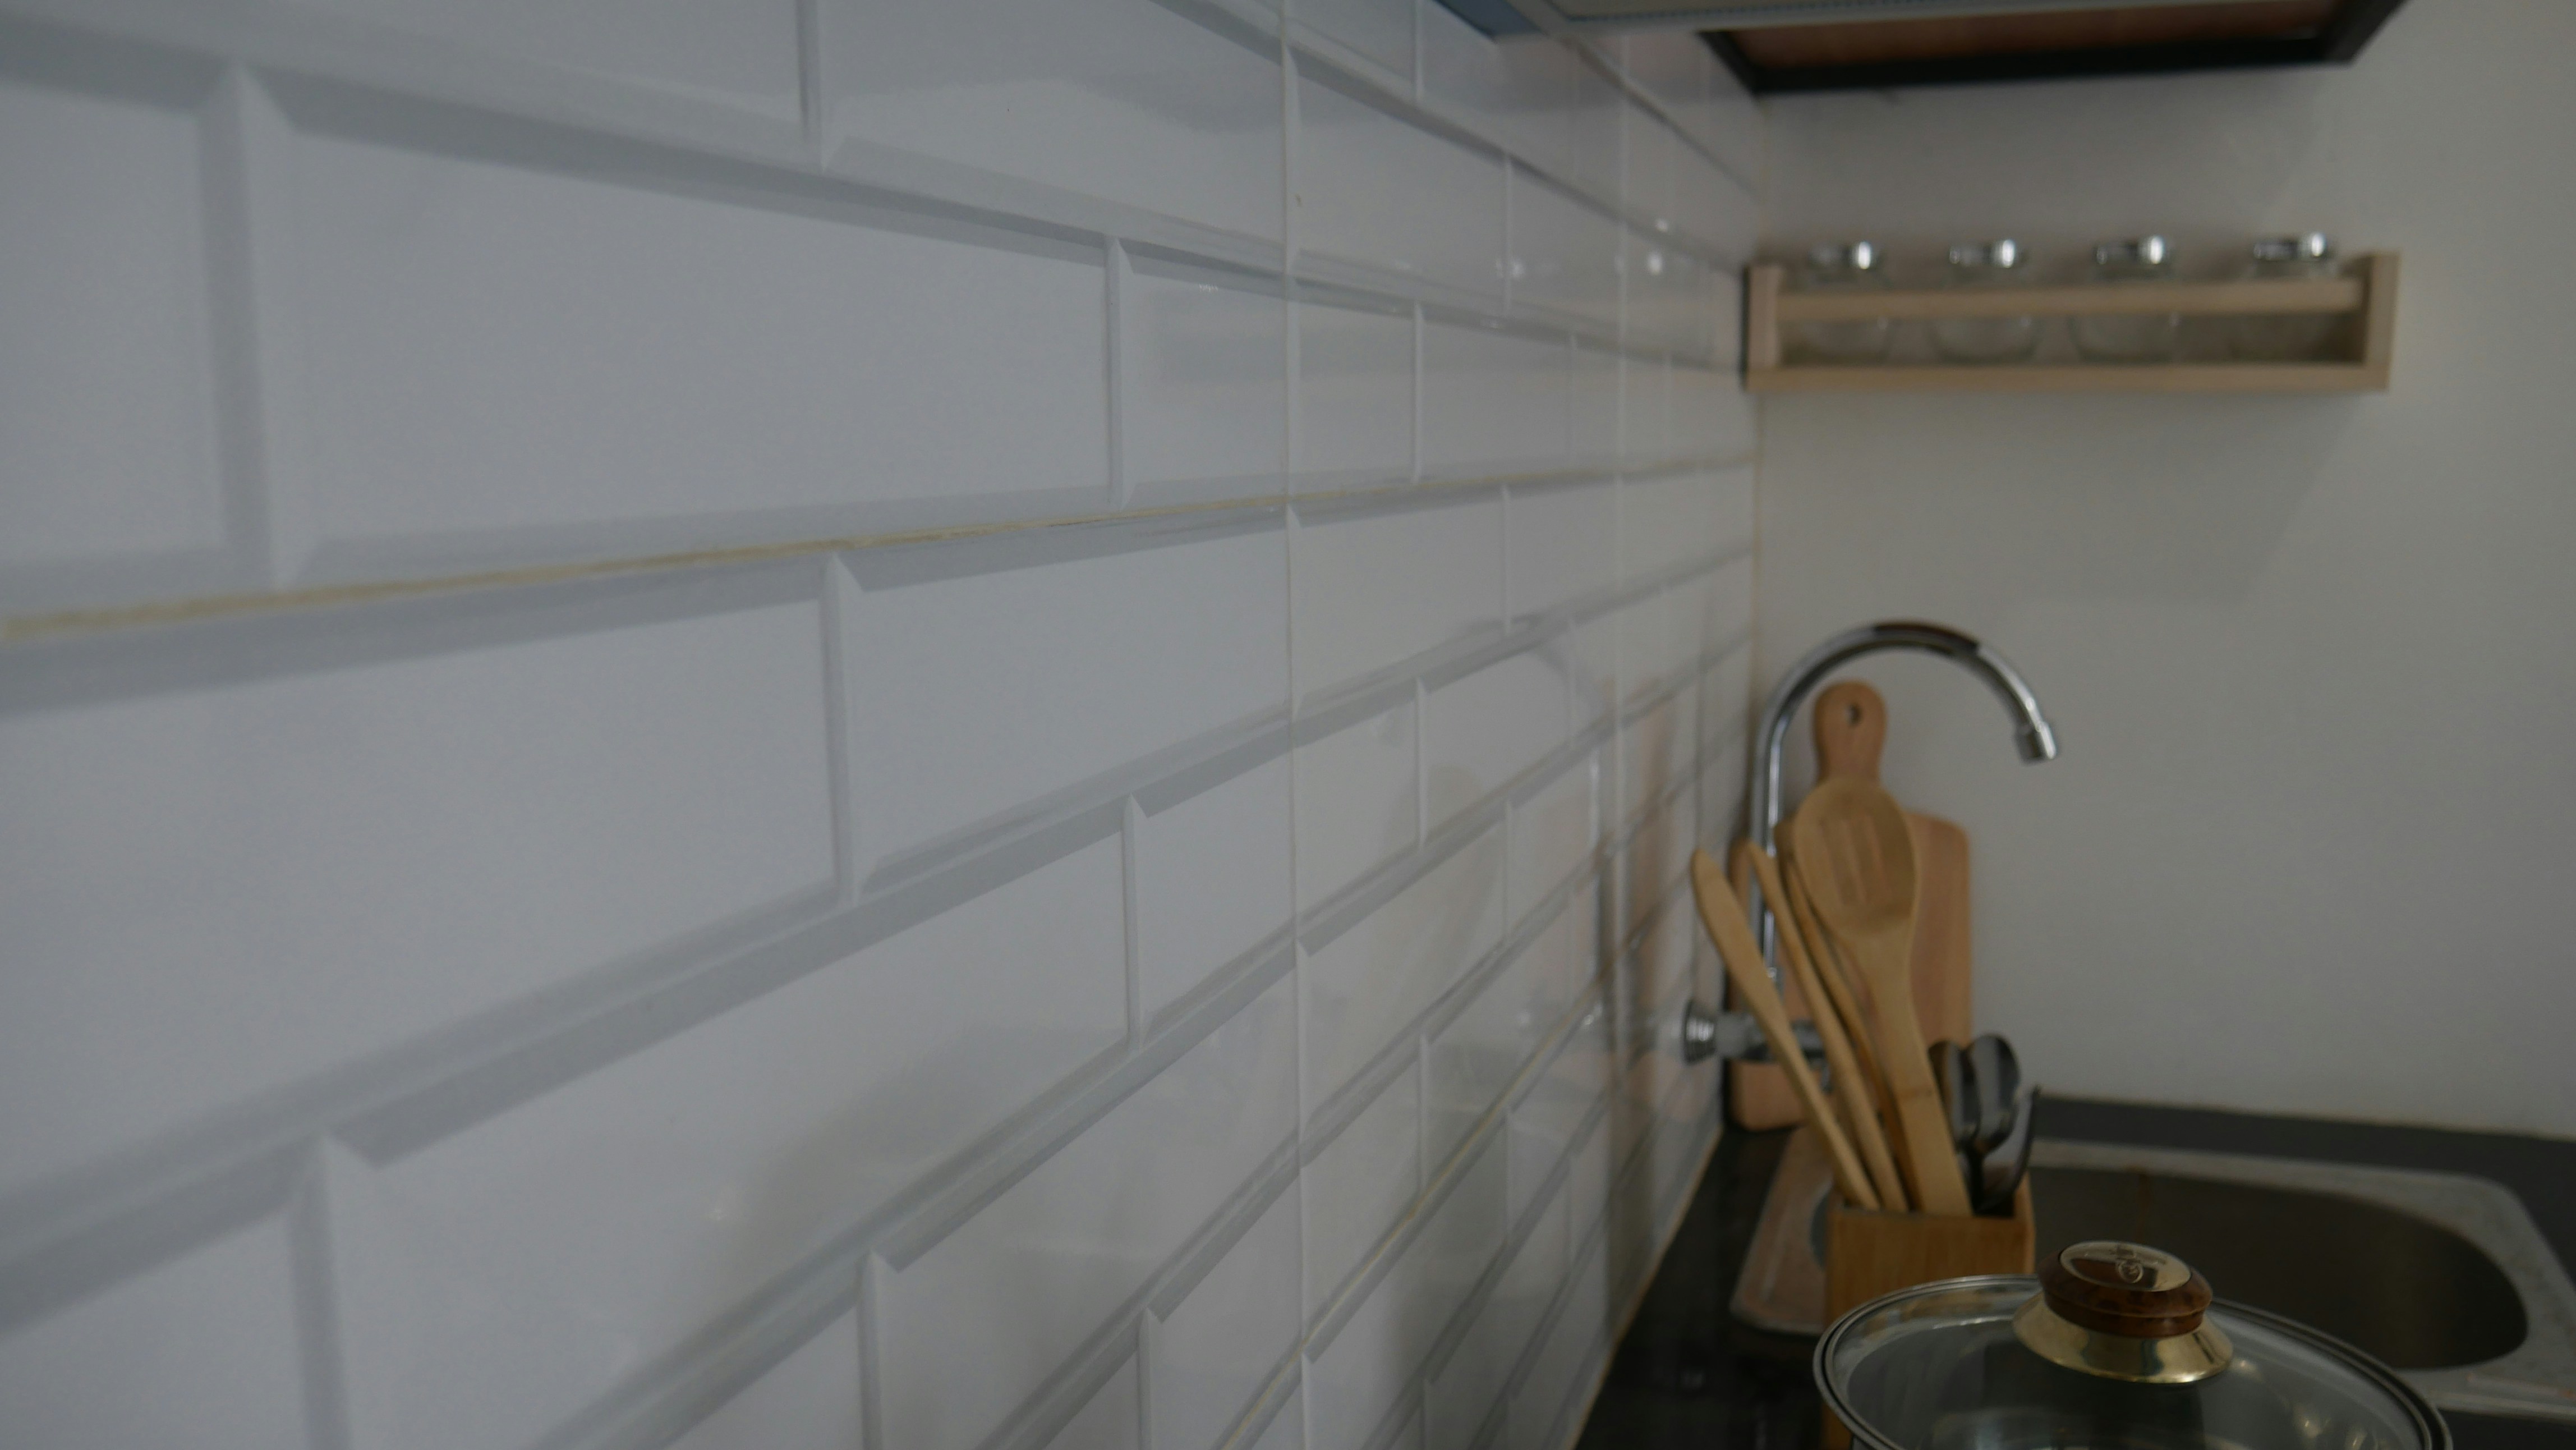
Reference photograph · white rectangular tiles on the wall beside the sink, with utensils and cookware on the bench
BEFORE THE MEASURE
Six things to settle first
01 Where it stops. Under the overheads, or full height to the ceiling on an open wall.
02 Whether it turns a corner. Window reveals, returns at the end of a run and the wall behind a rangehood each need a decision.
03 Appliance clearances. Cooktop and rangehood manufacturers state minimum distances; the material behind them is chosen to suit.
04 Power point positions. Cut-outs are set out before the material is ordered, not improvised on site.
05 Continuation or contrast. Running the benchtop material up the wall, or deliberately changing to something else.
06 Grout or no grout. A tiled wall has joints to colour; a slab or glass sheet has silicone lines instead.
WHY THE ORDER MATTERS
The splashback goes on after the benchtop, deliberately
STEP 1 Cabinetry is installed and levelled, and the benchtop is templated off the finished carcasses rather than off the drawing.
STEP 2 The benchtop is fitted. Only then is the true gap between the top and the underside of the overheads known — walls lean, and a millimetre of variation shows badly on a short wall.
STEP 3 The splashback is measured to that real dimension. Slab and glass sheets are cut to it; tile setting-out is marked so cut pieces land where they read best.
STEP 4 Cut-outs for power points and the rangehood are taken from the rough-in positions set during services preparation.
STEP 5 Installation, grouting or silicone, then appliances and finishing.
Four splashback materials on the same ladder
Compared on the four things that change how the wall lives: look, wear, maintenance, and what each is genuinely best used for.
TILE
Ceramic, porcelain & zellige
Glazed · subway to large format · grout joint
LOOK
Pattern and texture; handmade glazes vary tile to tile.
WEAR
Hard glazed face; individual tiles can be replaced.
MAINTENANCE
Grout lines need wiping; darker grout hides cooking marks.
BEST USED FOR
Period-sympathetic kitchens and walls where texture is the point.
SLAB
Stone, engineered & porcelain
Full height · joint-free face · matched to the benchtop
LOOK
Continuous; veining can be run up from the bench.
WEAR
Behaves as the benchtop material does; porcelain is the hardest face.
MAINTENANCE
No grout; porous stone needs sealing as advised by the supplier.
BEST USED FOR
Quiet, seamless walls and open plans where the kitchen is always in view.
GLASS
Toughened & back-painted
Single sheet · colour-matched · polished edges
LOOK
Flat, reflective colour; bounces light into darker galley kitchens.
WEAR
Non-porous face; cut-outs and sizes are fixed at fabrication.
MAINTENANCE
Wipes clean in one pass; marks and streaks are visible on gloss.
BEST USED FOR
Compact kitchens wanting one clean colour and no joints at all.
MIRROR
Clear, grey & antiqued
Splashback grade · tinted or aged finish · sheet fixed
LOOK
Doubles the apparent depth of a wall; antiqued finishes soften reflection.
WEAR
Specified to the cooktop and rangehood clearances stated by the manufacturer.
MAINTENANCE
Shows splashes quickly behind a sink; aged finishes are more forgiving.
BEST USED FOR
Narrow period kitchens and dresser walls away from heavy cooking.

Reference photograph · dark, pale and patterned samples set side by side — the only reliable way to judge a splashback against a benchtop and a cabinet front
Height, returns and grout colour
Height. Where overhead cabinets run, the splashback fills the gap between bench and cupboard, so the height is decided by the joinery drawing rather than the wall. Where there are no overheads — a cooktop wall under a canopy rangehood, or a run beneath a window — the choice is between stopping at a deliberate line and carrying the material to the ceiling. Full height reads calmer; a stopped line needs a clean edge detail and looks better with a mitred or bullnosed finish.
Returns and reveals. Splashbacks that meet a window are the detail most often left to chance. The reveal can be lined in the same material, rendered and painted, or finished with a slim edge trim — each changes the sightline along the bench. The same applies at the open end of a run and behind a freestanding cooker, where the material usually continues past the appliance to avoid a visible stop.
Clearances. Cooktops and rangehoods carry manufacturer clearance requirements, and they decide what can sit directly behind and above them. Those figures are checked against the chosen material before anything is ordered, not after.
Grout colour. On a tiled wall, grout is a design decision the size of the tile pattern itself. Matching the grout to the tile body makes the wall read as one surface; contrasting it draws the geometry forward, which suits a stack bond or herringbone but can overwhelm a small kitchen. Grout colour is chosen with the tile in hand, under the kitchen’s own lighting, because it shifts under warm light.
COMMON QUESTIONS
Cleaning, heat and continuing the benchtop
Which splashback is easiest to clean?
Anything without joints — a slab or a glass sheet — wipes down in one movement. Tile is straightforward across the face; it is the grout lines that hold marks, which is why grout colour and joint width are worth deciding rather than defaulting.
What can go directly behind a cooktop?
That is set by the appliance, not the wall. Cooktop and rangehood documentation states the clearances and the surfaces permitted behind them, and the splashback material is selected to comply with those instructions for the appliance you have chosen.
Can the benchtop material continue up the wall?
Yes, and it is one of the most effective moves in a small kitchen. It depends on slab size, the veining pattern and whether there is enough material to book-match the wall to the bench, which is why the decision is made at benchtop selection rather than later.
Can a splashback be replaced on its own?
Often, if the benchtop and cabinets are sound. Removing a wall surface affects the paint and the wall face behind it, so it is usually done alongside other updates — that scope sits under kitchen makeovers. More questions are answered on the FAQ page.
NEXT STEP