Home / Kitchen Guides / Splashback Ideas
SPLASHBACK GUIDE · SELECTION ROOM · MALVERN
Splashback ideas: the material, the height and the joint
A splashback is the smallest surface in a kitchen and the one people look at most, because it sits at eye level directly in front of whoever is cooking. It is also the surface where three separate decisions get collapsed into one: what the material is, how far up the wall it goes, and how the joints are handled where it meets the bench, the window and the rangehood.
Separate them and the choice becomes straightforward. This guide takes them in the order they are actually settled during selection.
Ready to specify rather than browse? See kitchen splashbacks or kitchen tiling.
What this guide settles
Choose the surface first. The joint, the grout and the cleaning all follow from it.
Most splashback regret is not about colour. It is about maintenance nobody explained: a pale grout line behind the cooktop, a porous stone directly above a chopping station, a mirrored sheet in a kitchen where four people reach past it every morning. Four material families cover almost everything installed in Melbourne kitchens, and each one carries a different amount of joint.
Tiled
Ceramic & porcelain tile
Glazed tile · subway or square · grouted joints
Look — the widest range here: flat subway, handmade zellige, squares, fine formats with visible texture.
Wear — the glazed face is untroubled by steam, splashes and acid.
Maintenance — the tile is easy; the grout is the part that ages.
Best for — period homes and any kitchen that wants pattern rather than veining.
Slab
Stone & engineered slab
20mm slab · continuous face · silicone joint
Look — the benchtop carries up the wall, so veining runs uninterrupted through the corner.
Wear — inherits the benchtop’s own limits; heat and acid tolerance vary by material.
Maintenance — nothing to clean but the face; no grout behind the sink.
Best for — handleless joinery where the eye wants one surface, not two.
Panel
Large-format porcelain
Thin panel · few joints · stone or concrete face
Look — slab appearance in sheet form, so joints become rare rather than absent.
Wear — very hard, non-porous and stable against cooktop heat.
Maintenance — wipe-clean; the few joints there are get sealed, not grouted.
Best for — full-height walls and long runs that would otherwise read as a grid.
Sheet
Toughened glass
Single sheet · back-painted · no joint
Look — flat colour or reflection; no pattern to coordinate and no joint to set out.
Wear — handles cooktop heat where it is specified and toughened for that position.
Maintenance — genuinely seamless, though it shows fingerprints near the handles.
Best for — small or dark kitchens that need light bounced back into the room.
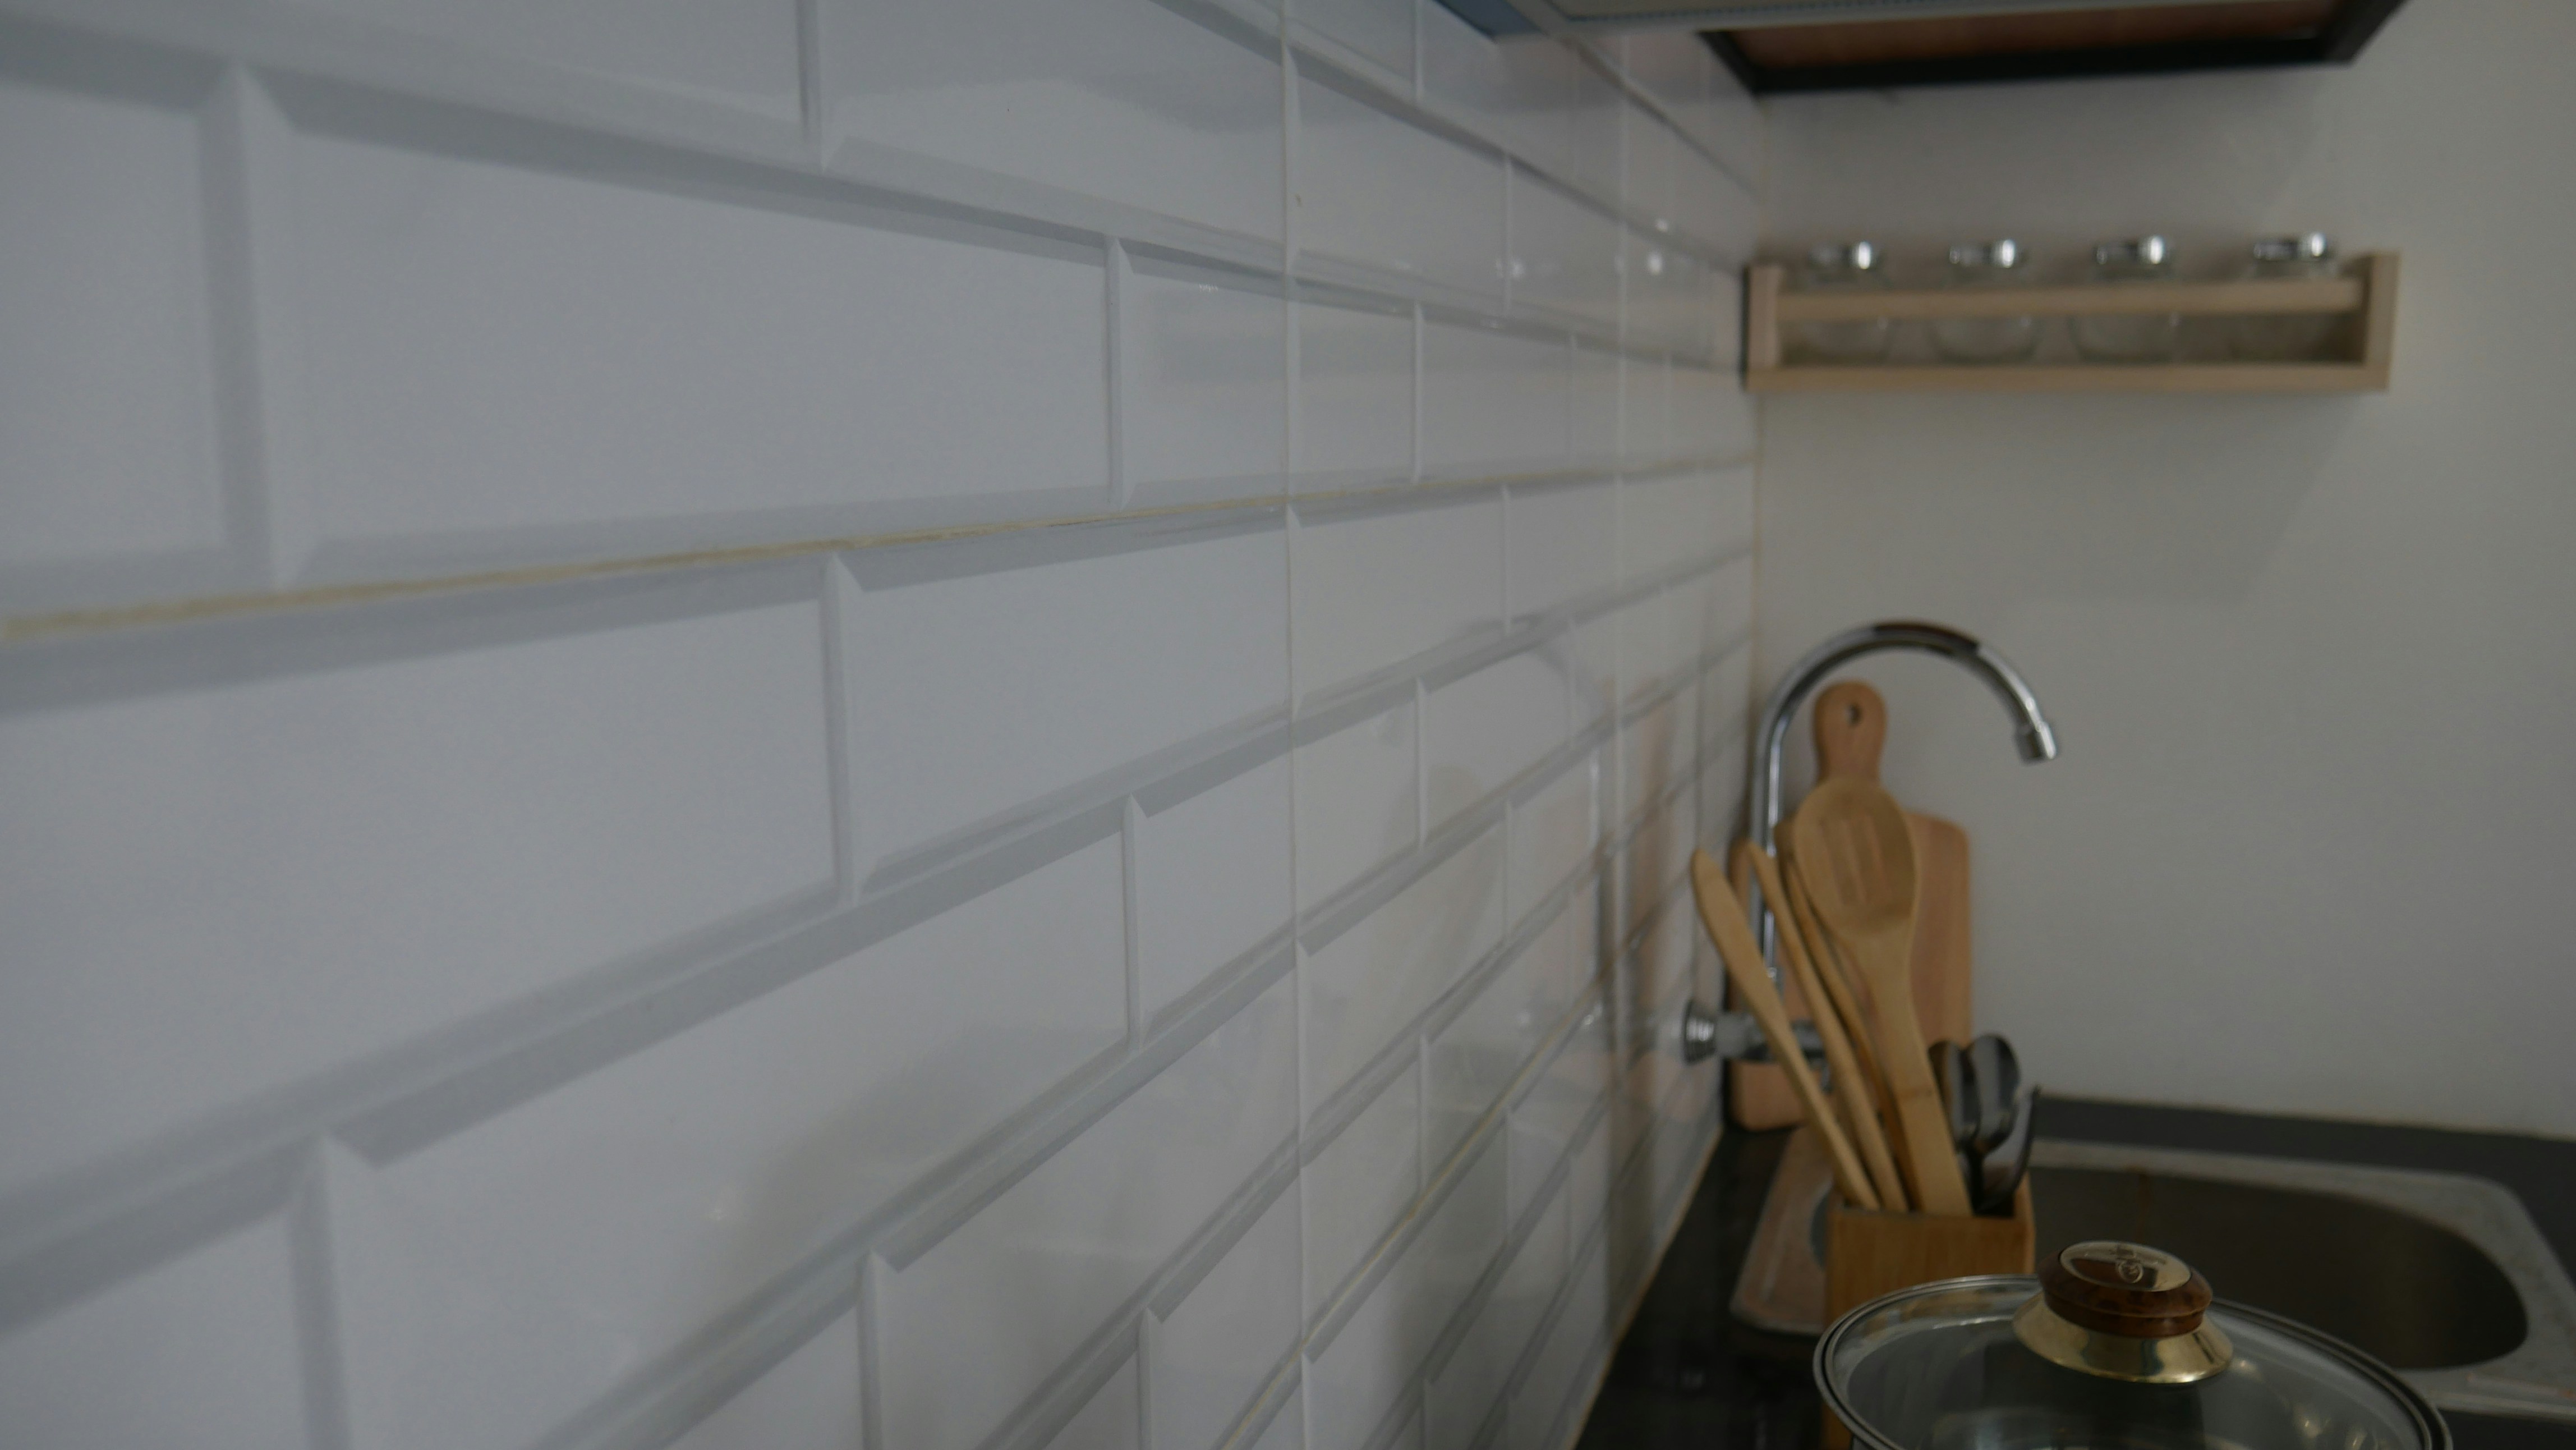
Reference photograph · a rectangular tile run beside a sink — format, joint direction and grout colour are three separate decisions visible in one wall
02
Height
How far up the wall
The default is a band from benchtop to the underside of the overhead cabinets — roughly 450 to 600mm, depending on where the joinery lands. Taking it to the ceiling instead reads as a wall rather than a strip, which suits open shelving, a window wall or a run with no overheads at all. Decide this before ordering, because quantities and the cut list change.
The half-height band also draws a horizontal line across the room at cabinet level; a full-height surface removes it. Where a run carries no overheads above it, the ceiling is often the only stopping point that looks deliberate rather than accidental.
03
Format, pattern and grout
A long thin tile laid horizontally stretches a short run; stack-bonded or laid vertically it lifts a low ceiling. Grout does more work than the tile: matched to the glaze it reads as one soft surface, contrasted it turns the wall into a graphic pattern you will be looking at every day.
Choose grout with the tile in hand rather than from a chart, and judge the pattern across a metre of wall, not a single piece — texture on one tile can become a full graphic across three metres. Setting out is covered on kitchen tiling.
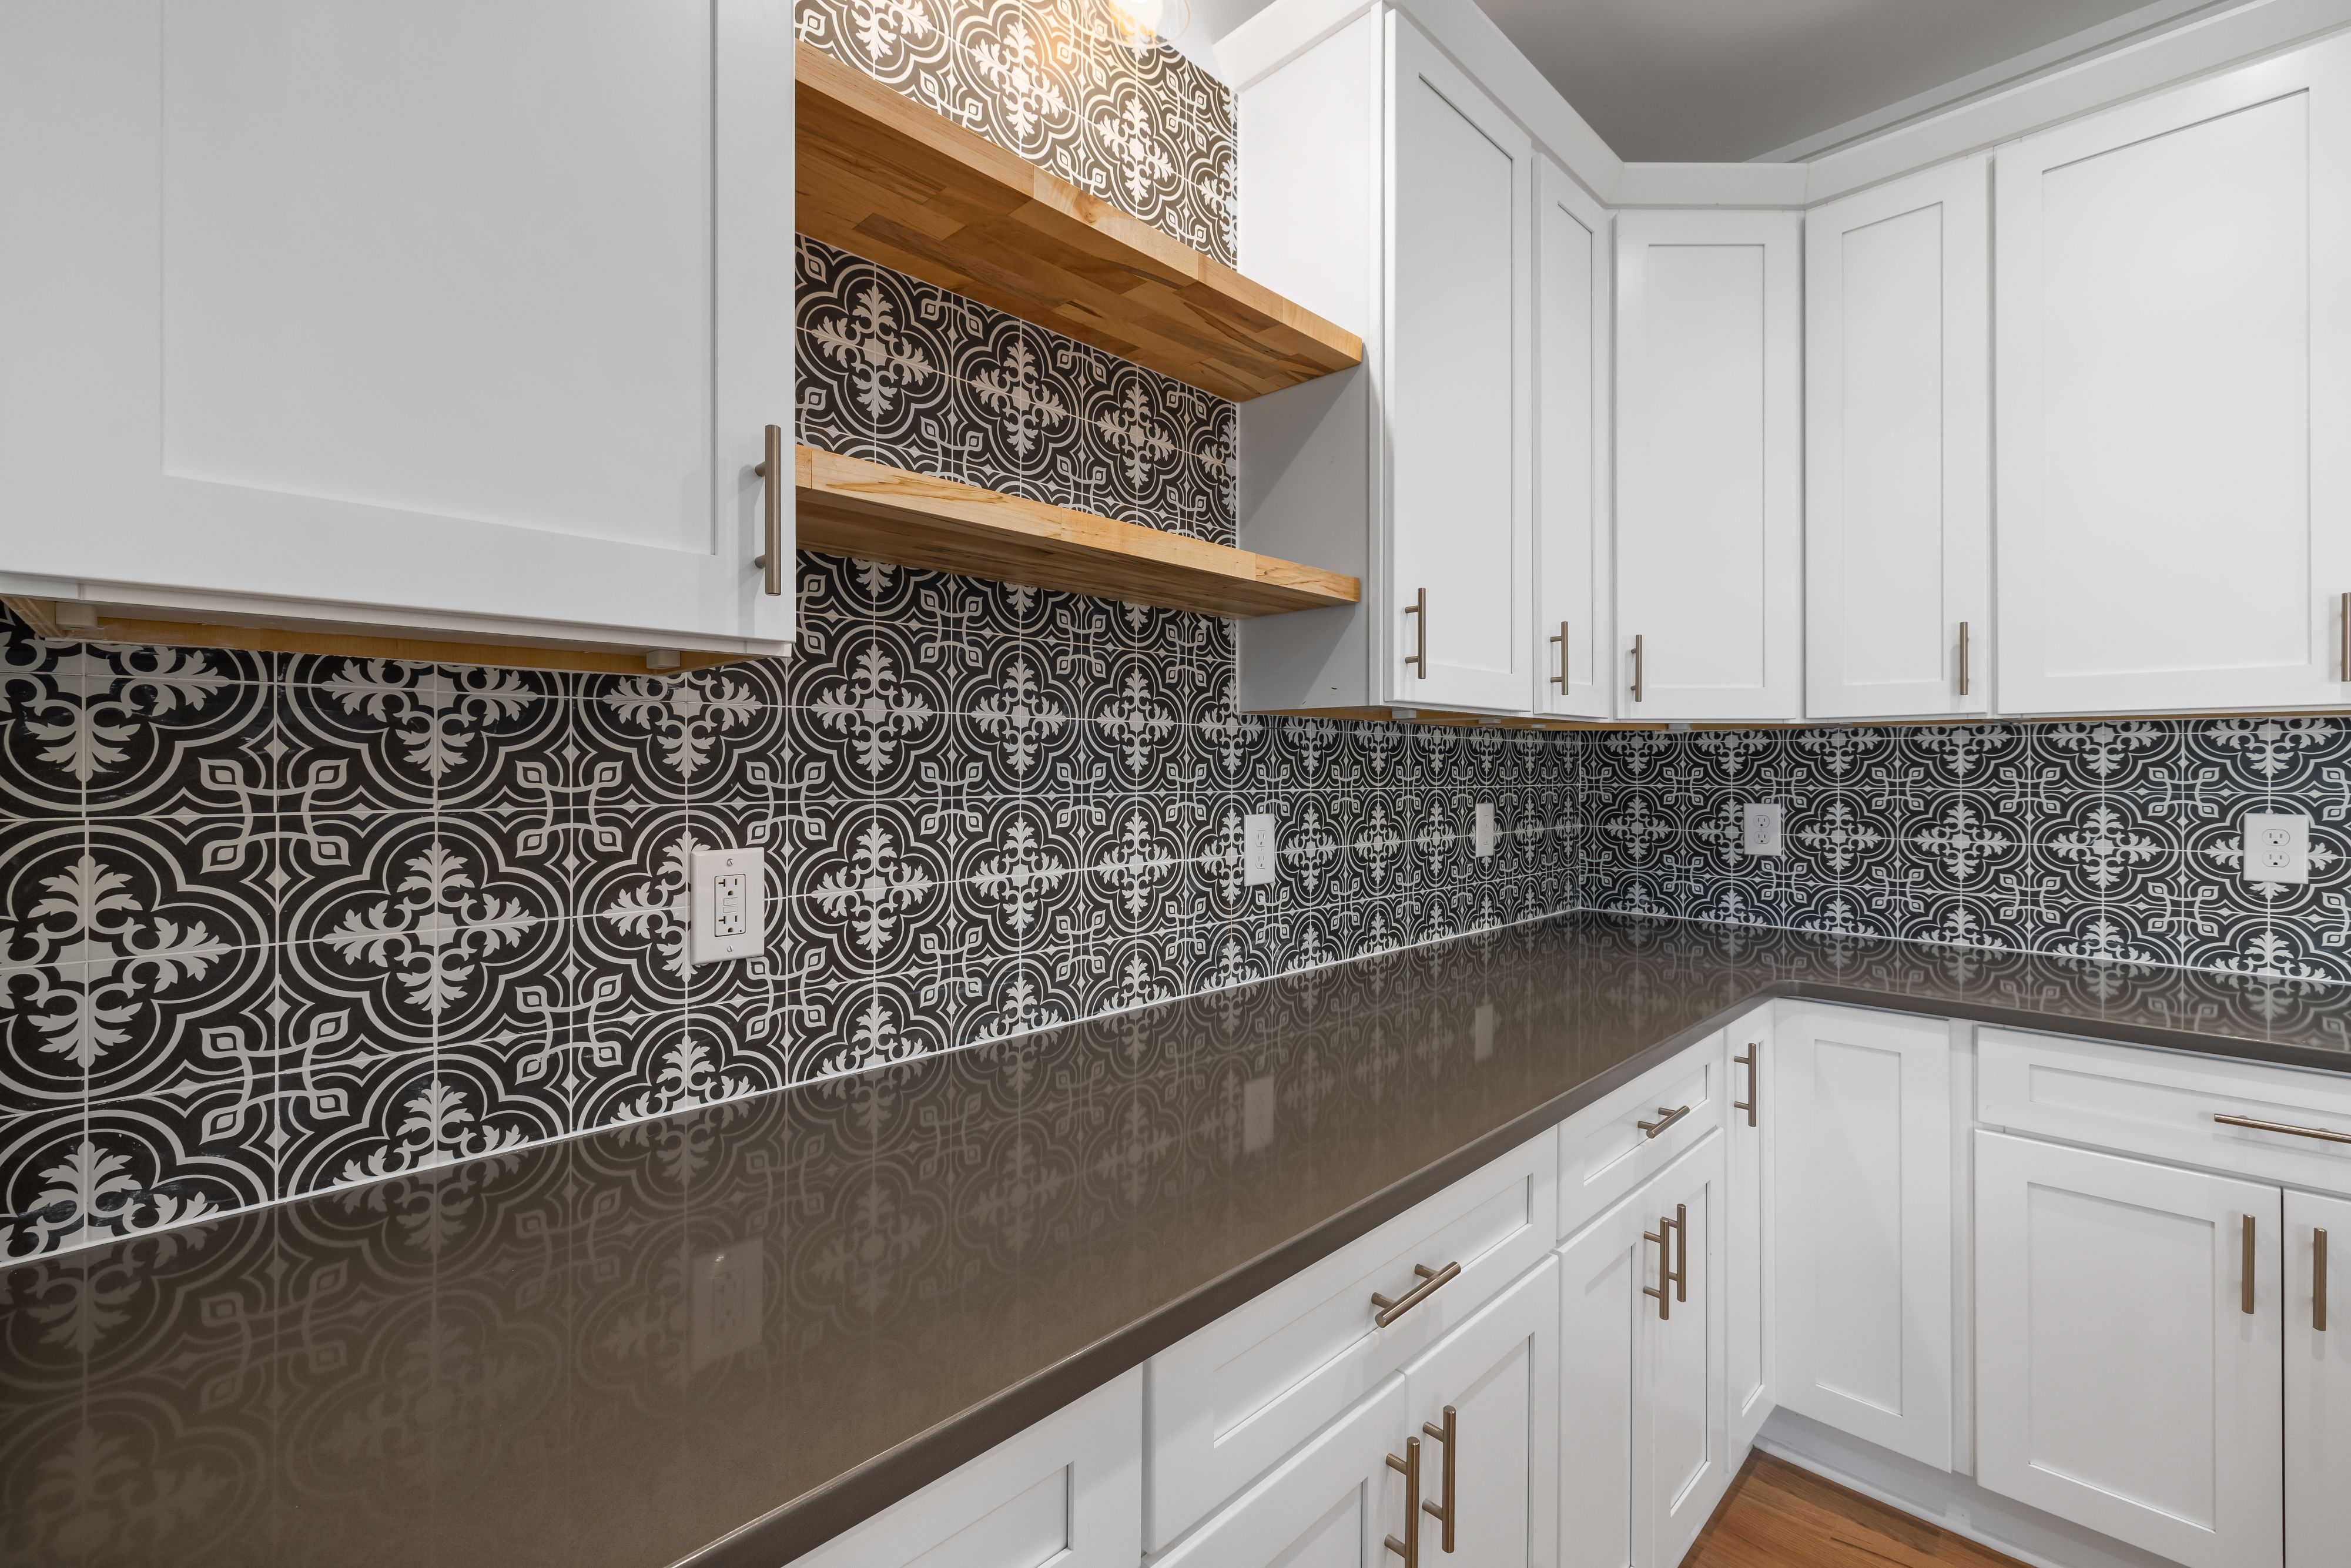
Reference photograph · a patterned tile wall set against plain cabinetry, where the grout line is part of the pattern rather than a detail settled afterwards
04
Heat
Behind the cooktop
This is the one zone where the material has to be confirmed for heat rather than assumed. Appliance clearances to the wall surface and to the rangehood above are set by the cooktop’s own documentation, and they decide whether a sheet product, a slab or a tiled panel can sit directly behind it.
It is also the hardest patch of wall to clean, which is the practical argument for fewer joints in that span. Check the clearance figures at selection, not once the wall is open.
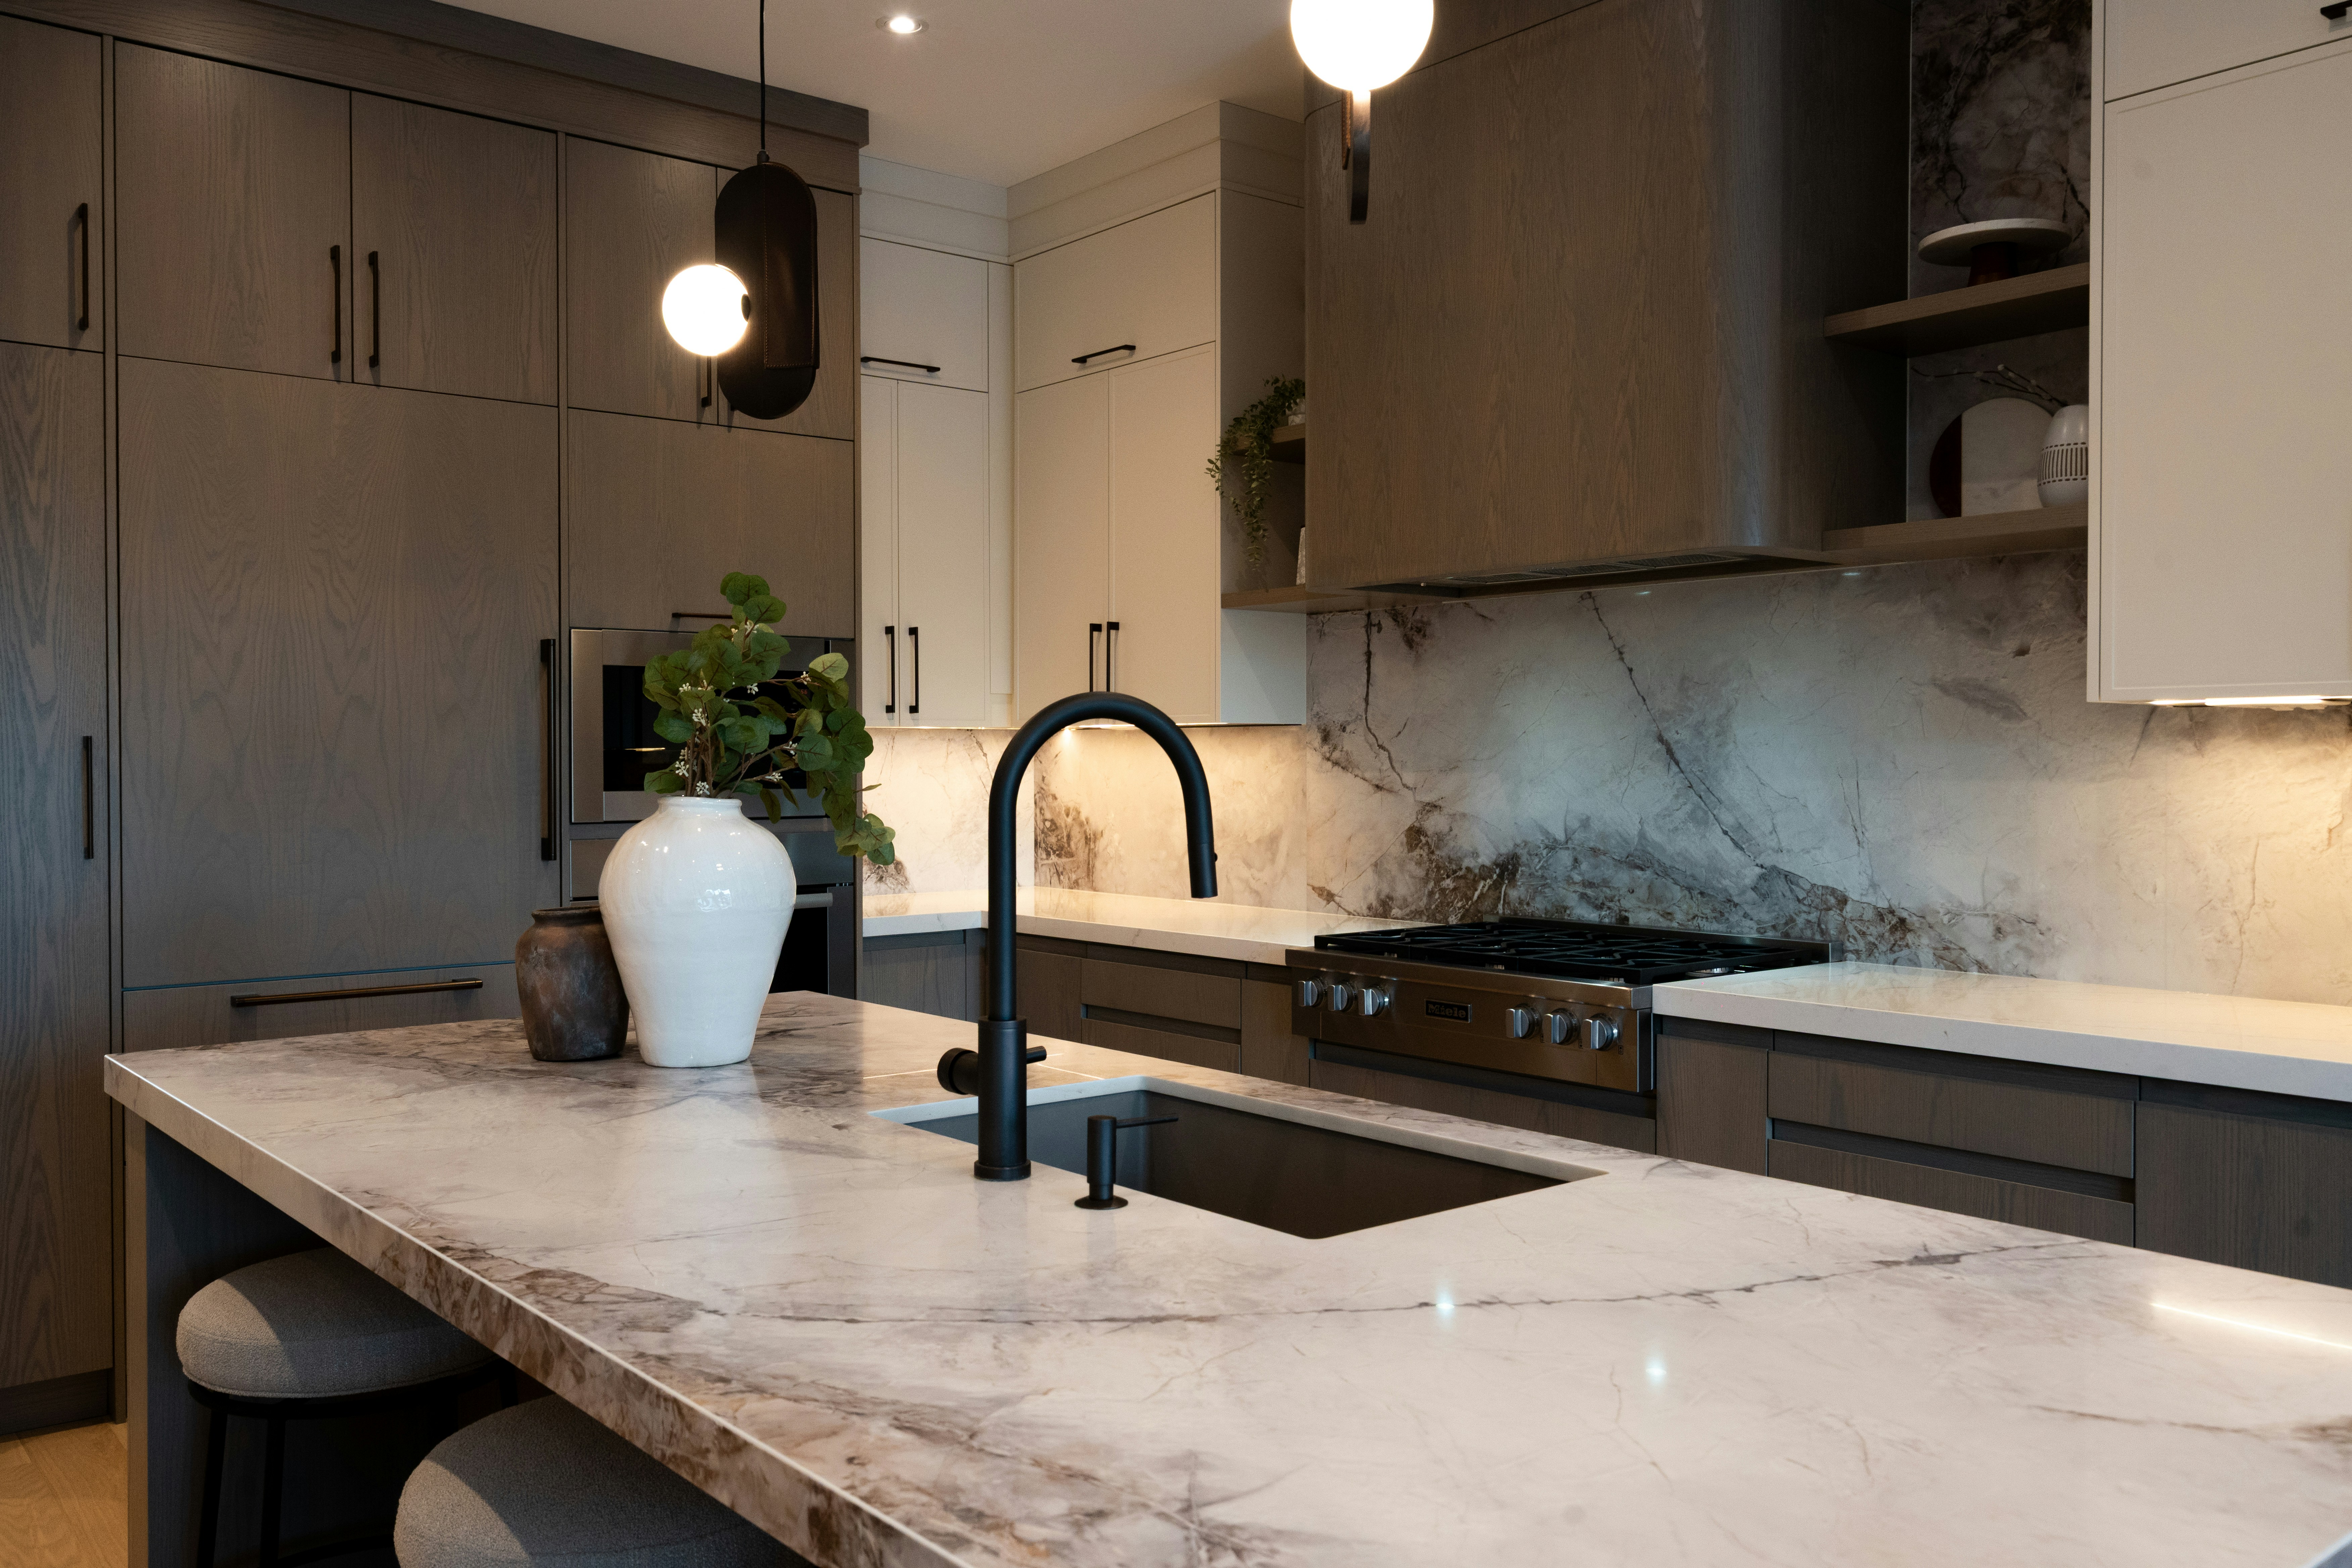
Reference photograph · a slab-faced splashback carried across the cooking wall with no grout line in it, the jointless end of the range described above
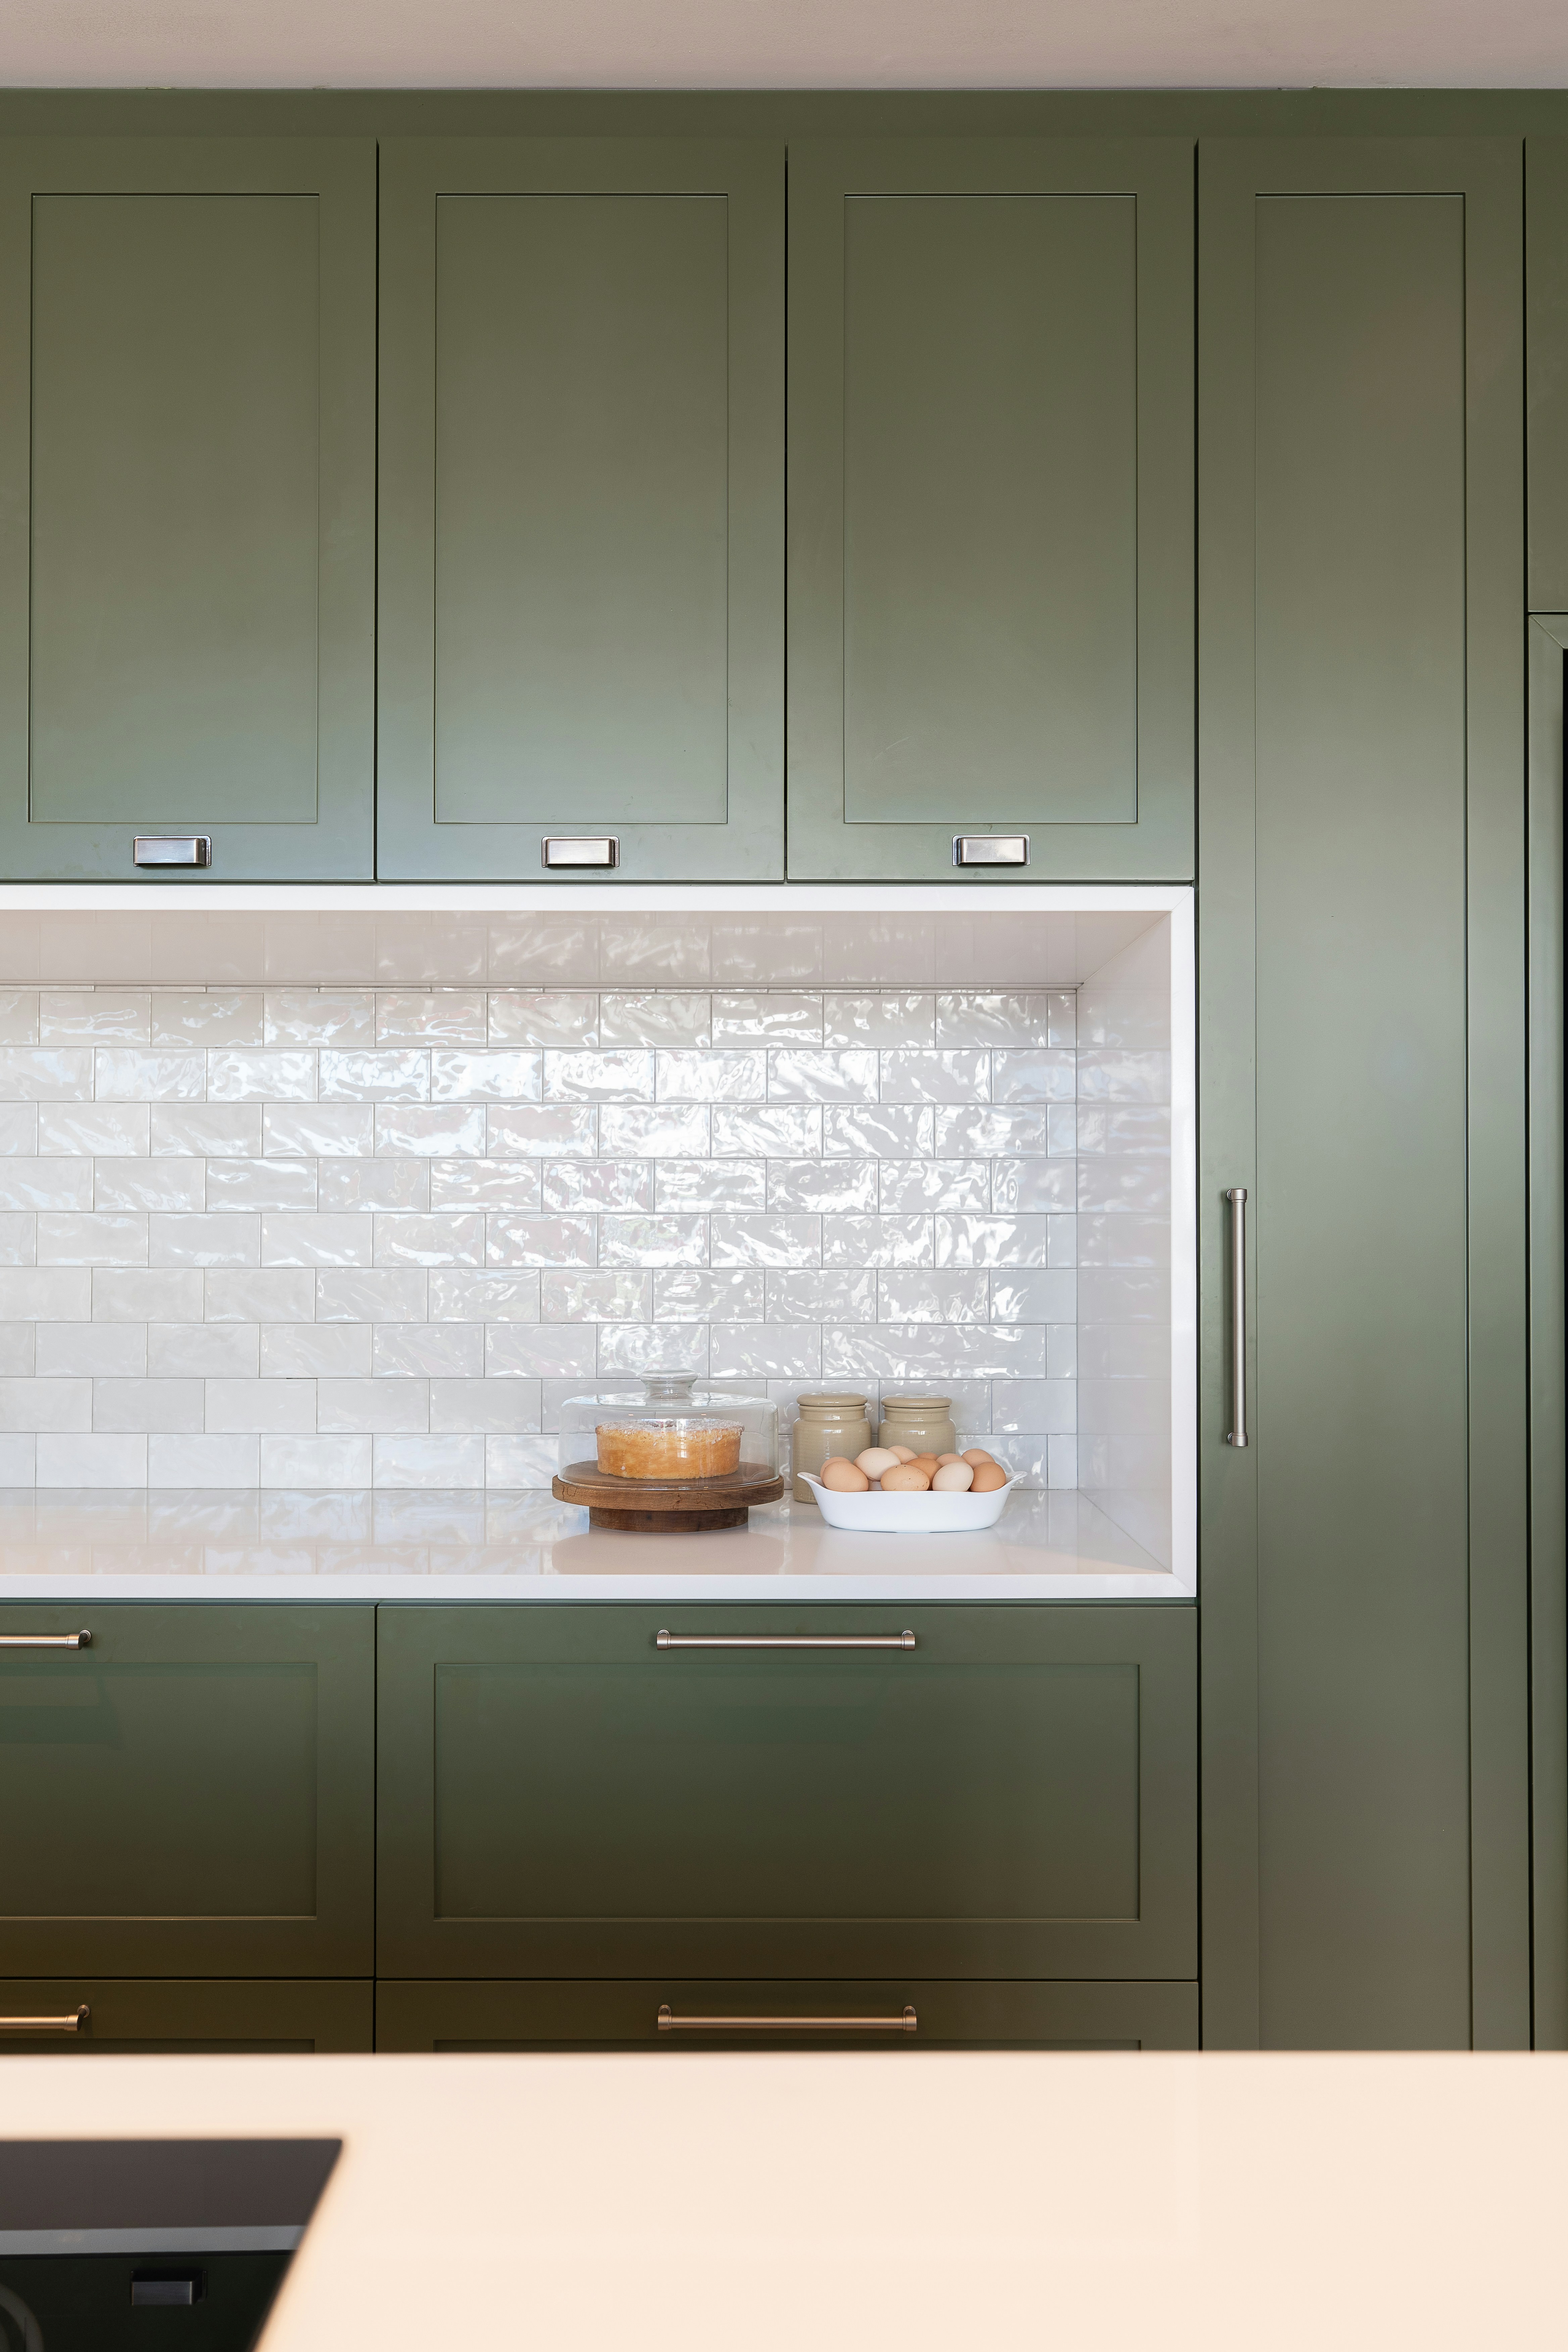
Reference photograph · a tiled panel stopped hard against the joinery on both sides, so the edge lands on a cabinet line instead of running out in open wall
EDGES · RETURNS · STOPPING LINES
Where the splashback stops is a detail, not an afterthought
Kitchens in older Malvern and Armadale homes rarely give you a clean rectangle of wall. There is a window sitting low over the sink, a chimney breast, a doorway that clips the end of the run. Each one needs a decision: does the surface return into the window reveal, or stop at the frame? Is the exposed tile edge mitred, trimmed, or turned away from view?
Where a run ends in open space, align the stopping line with something real — a cabinet edge, the end of the benchtop, a wall junction — so it looks intended rather than run out. Power points, switches and any under-cabinet lighting channel should be set out with the tile grid at the same time, not cut in afterwards.
Setting out, substrate and grout finishing are covered on kitchen tiling; the layers above the bench on kitchen lighting.
Take the sample to the wall it has to live on
Glaze, grout and veining all change under a kitchen’s own light. Hold the shortlist against the existing wall, at bench height, in the morning and again at night — then bring what survives to the measure, where the material, the height and the joints get drawn together. Questions about a specific wall can go through the contact form.