Six sections, in order
Home / Kitchen Guides / Cabinet Ideas
CABINET FRONTS · SELECTION ROOM · MALVERN
Cabinet ideas: the door, the finish and the thing you pull
Cabinet fronts are the largest continuous surface in most kitchens — more square metres than the benchtop and splashback together — and the only one you touch a hundred times a day. Profile, finish and hardware therefore set the character of a room faster than any other selection on the plan, and they are chosen in that order.
This guide compares the four door profiles that turn up in almost every Malvern kitchen, the four finish families they are made in, and the hardware that either disappears into the door or becomes the detail people notice first.
Ready to specify rather than browse? See kitchen cabinets or custom cabinetry.
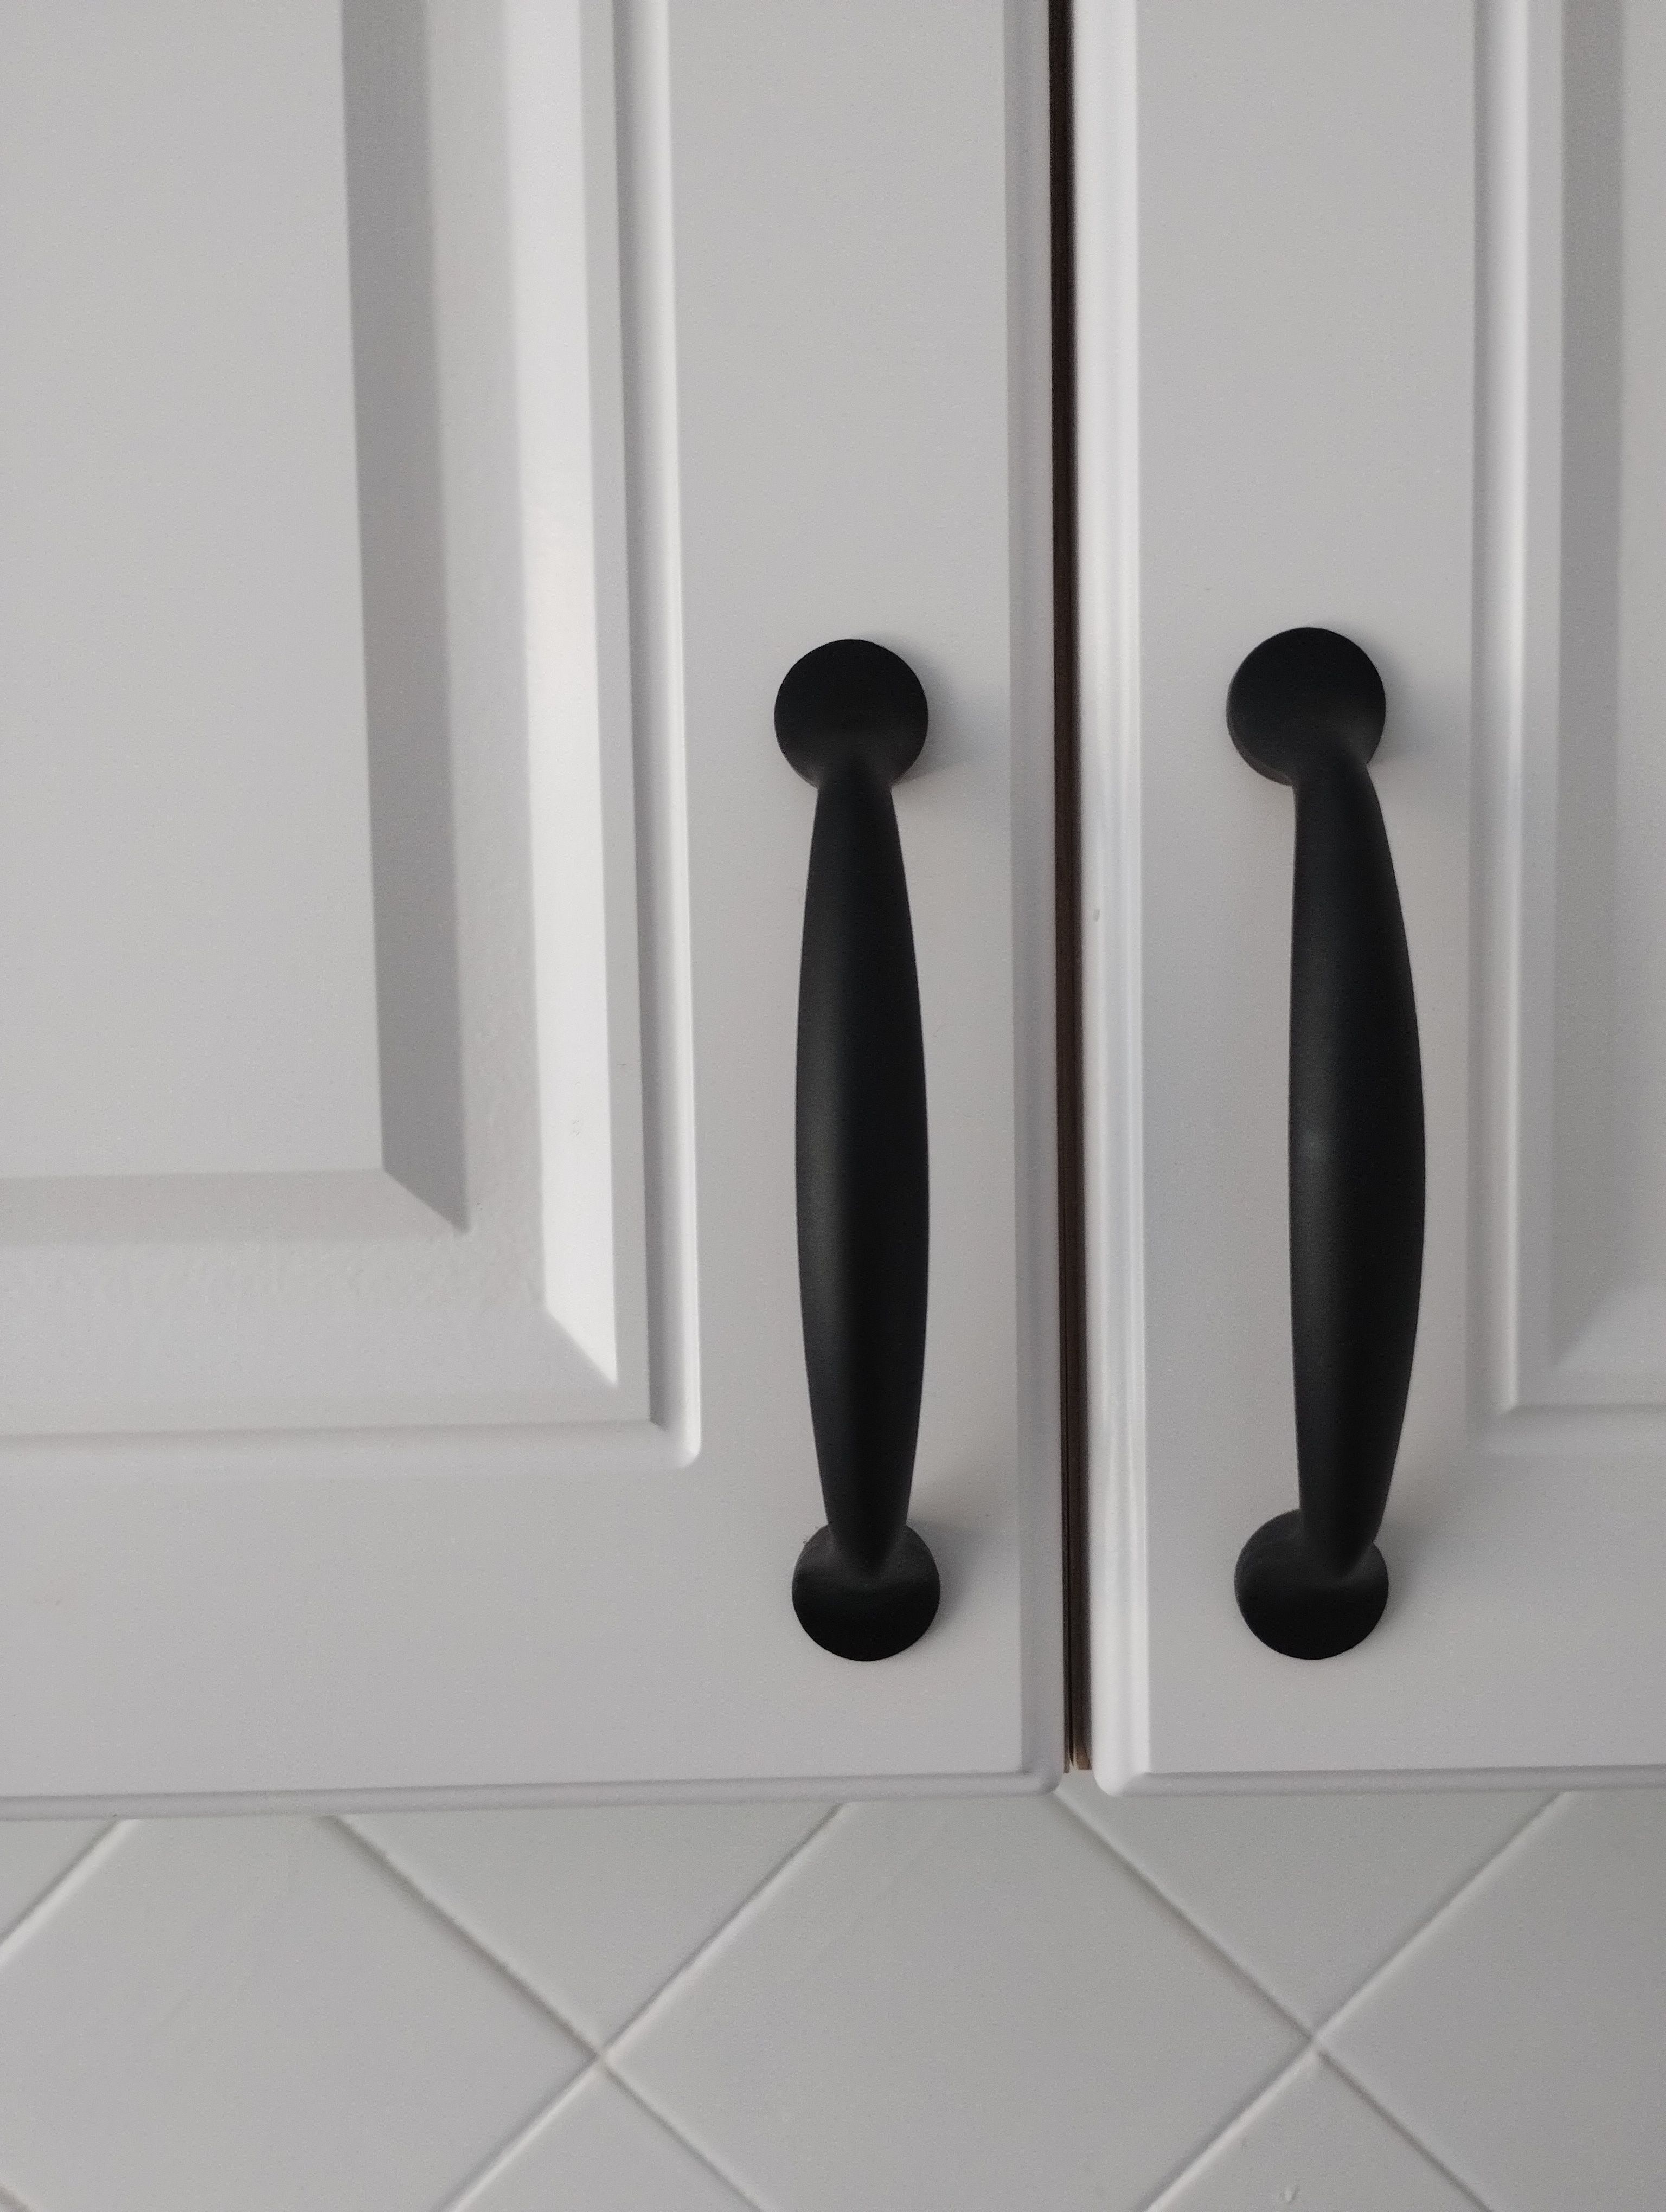
Reference photograph · shaker front, painted white, matt black bar handle against a white tiled wall — three separate decisions read as one surface
01
Door profiles
Four profiles, and what each one asks of the room
Shaker
Frame and panel · square shadow line · painted
Traditional in an Edwardian or bungalow kitchen, and still quiet in a contemporary one if the frame is narrowed and the colour kept off-white. The shadow line collects dust; the trade-off is warmth and depth on a flat wall.
Slab
Flat front · square or ABS edge · applied handle
One plane and no detail, so the whole decision moves to the finish and the handle. A slab front punishes a thin laminate and flatters a good veneer or a properly sprayed colour.
Handleless
Slab front · routed J-pull or rail · no hardware
The pull is machined into the door or the carcass rail so a long run reads as one uninterrupted surface. It needs tighter tolerances and a finish that will not show marks where every hand lands.
V-groove
Routed groove · vertical board look · painted
Narrow grooves cut into a slab door give board-and-batten texture without a frame. It suits period kitchens, butler’s pantries and island ends where shaker would sit too heavily.
02
Finish families: the same door in four different materials
Profile decides the shape of the front. Finish decides how it ages, how it cleans and what it costs to repair. These four cover almost every kitchen built in the inner south-east, and they can be mixed within one room — a veneer island against sprayed tall cabinets is a common and durable pairing.
01
Two-pack polyurethane
Sprayed 2-pac · any colour · matt to gloss
Sprayed and cured in a booth, so colour is exact and edges are seamless. The most repairable premium finish, and the one most sensitive to a heavy knock.
02
Matt laminate
Pressed board · low sheen · fingerprint-resistant grades
Hard-wearing and consistent across a long run. Current super-matt boards largely solve the fingerprint problem older matt surfaces had.
03
Timber veneer
Real timber face · book-matched · sealed
Genuine timber over a stable board, so grain can be book-matched across a drawer bank. Warms a white stone kitchen without the movement of solid stock.
04
Natural timber
Solid stock · oiled or clear-coat · visible movement
Used for open shelves, island ends and feature doors where the grain should obviously be real. It moves with humidity, so it is detailed to allow for it.
03
Colour across the run, not colour in a swatch
The instinct is one colour everywhere. In practice a kitchen sits better when the run is split by height and by weight — something grounded below, something quieter above, and one departure on the island or the tall bank. Three notes, no more.
Judge samples in the room itself, at the hour you use the kitchen most, and hold them vertically rather than flat on a bench. A matt white changes character completely once under-cabinet lighting is on it, and a deep green that looks confident in a showroom can go flat on a south-facing wall. If you are still naming the look you want, the styles guide is the faster starting point.
Lowers
Deepest tone. Takes the wear and anchors the room at floor level.
Uppers
Lighter, or absent altogether. Open shelving and glass fronts lift a narrow kitchen more than a pale paint colour does.
Island or tall bank
One departure only — timber veneer, a deeper colour, or stone returned down the ends.
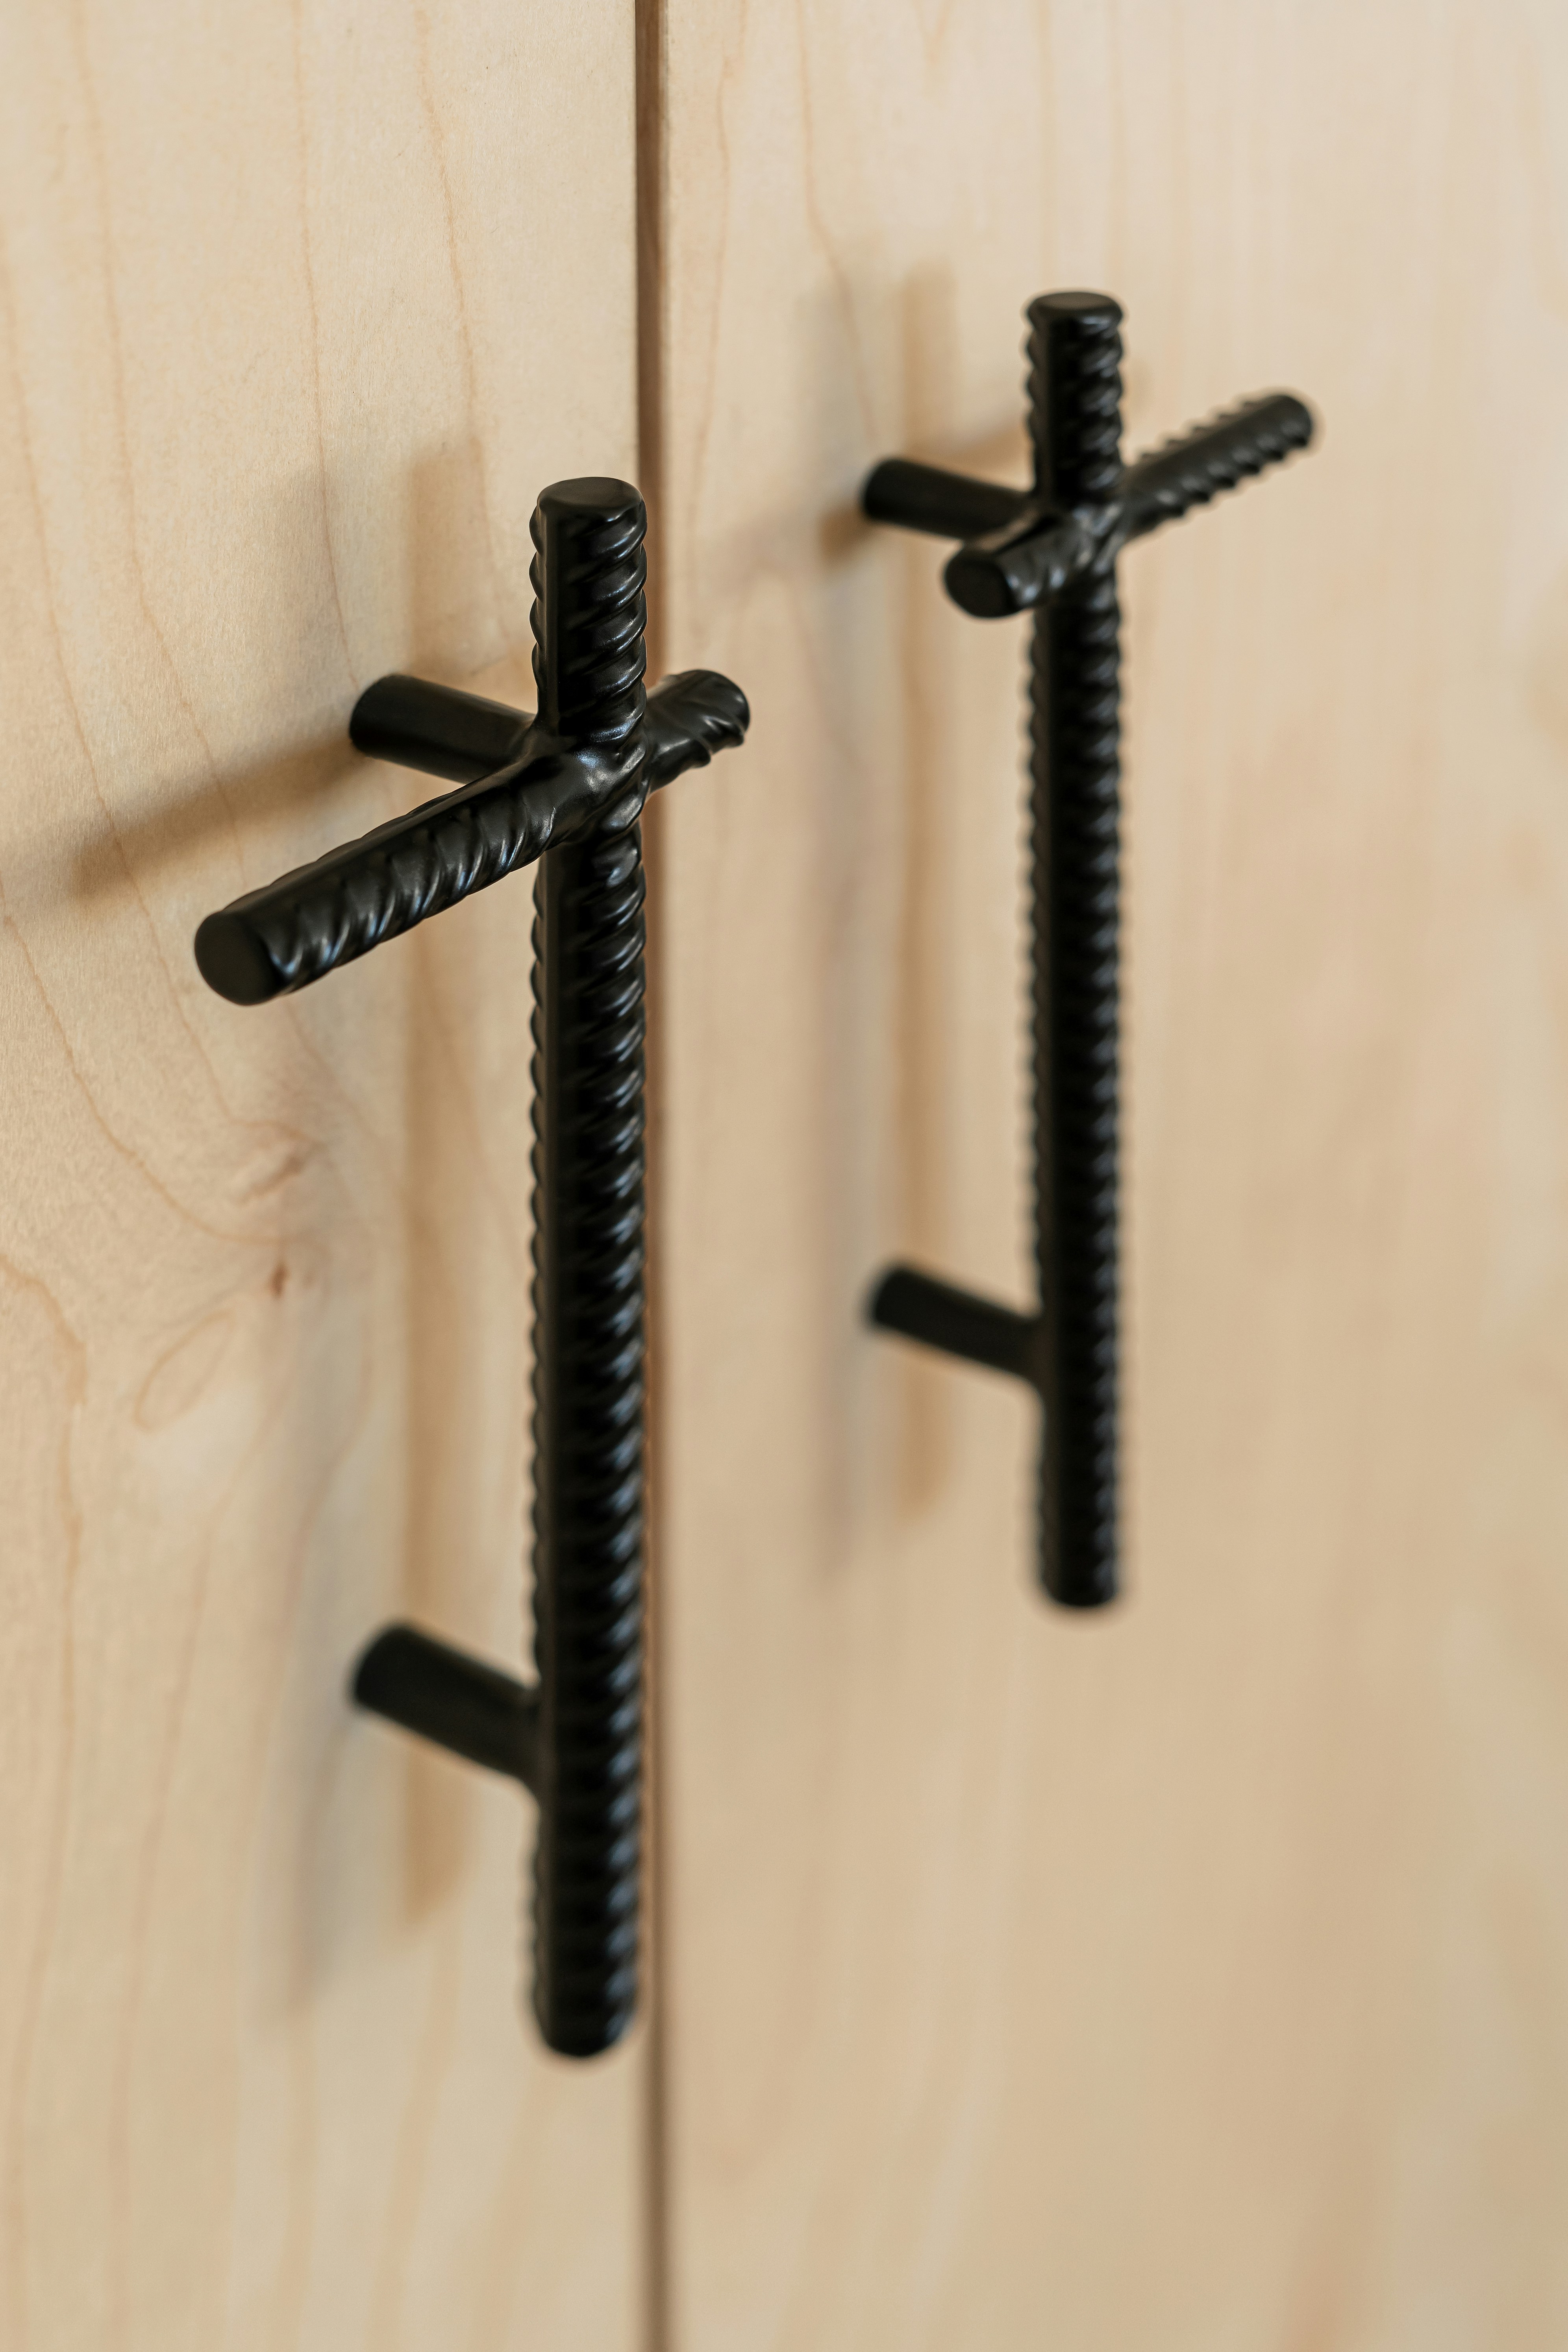
Reference photograph · knurled black hardware on pale timber fronts — hardware carrying the detail so the door can stay plain
04
Hardware is the part you actually touch
Handles are the cheapest element to change your mind about — right up until the doors are drilled. Four broad choices cover most kitchens: an integrated or routed pull that removes hardware entirely, a slim bar that suits long drawer runs, a knurled knob that adds texture to a plain painted front, and a D-pull that stays neutral in a period room.
Two rules save most of the regret. Scale the handle to the drawer, not to the catalogue photograph — a wide pot drawer wants a long pull, a 450mm door does not. And keep to two metal finishes across the whole room, counting the tapware, the sink and the appliance trims, so brushed brass, matt black and satin nickel are not all competing on the same wall.
Awkward walls, chimney breasts or appliance housings usually decide this for you — that is custom cabinetry territory, and the internal fit-out is specified alongside it.
Period home or extension
The same four profiles, read against the two kinds of room they usually land in — a house that already has mouldings, and an extension with nothing to echo.
Working with mouldings that already exist
In the Edwardian and interwar houses common through Malvern, Armadale and Glen Iris, the kitchen is rarely the only detailed room. Shaker and V-groove fronts read naturally against existing architraves and skirtings, and a taller kickboard keeps proportions honest under high ceilings. Painted finishes suit these rooms because the colour can be pulled from joinery already in the house rather than chosen in isolation.
Where the architecture is new and flat
Open-plan additions have little to echo, so the joinery does the work. Handleless slab fronts, book-matched veneer and integrated appliances let a long run behave like a wall rather than a row of cupboards, which matters when the kitchen is visible from the living space. Detail is best concentrated in one place — the island, or the tall bank — and the rest kept deliberately plain. See kitchen remodelling if the walls are moving too.
NEXT STEP
Bring the fronts to the table
Profile, finish, colour and hardware are settled at the material selection stage of the twelve-stage process, once the design is measured and drawn. Send through the room you are working with and the direction you are leaning toward, and the cabinetry can be specified against it.