Home / Kitchen Guides / Lighting Ideas
LIGHTING GUIDE · SELECTION ROOM · MALVERN
Kitchen lighting: layers, placement and warmth
Lighting is the last thing most people choose and the first thing they notice once the kitchen is finished. It is also the selection with the shortest window: the ceiling positions, the wall-cabinet chases and the switch drops are all fixed during services preparation, long before a single door is hung. Decide the layers early and the room works at breakfast, at homework hour and at dinner. Decide them late and you inherit a grid of downlights that throws your own shadow across the chopping board.
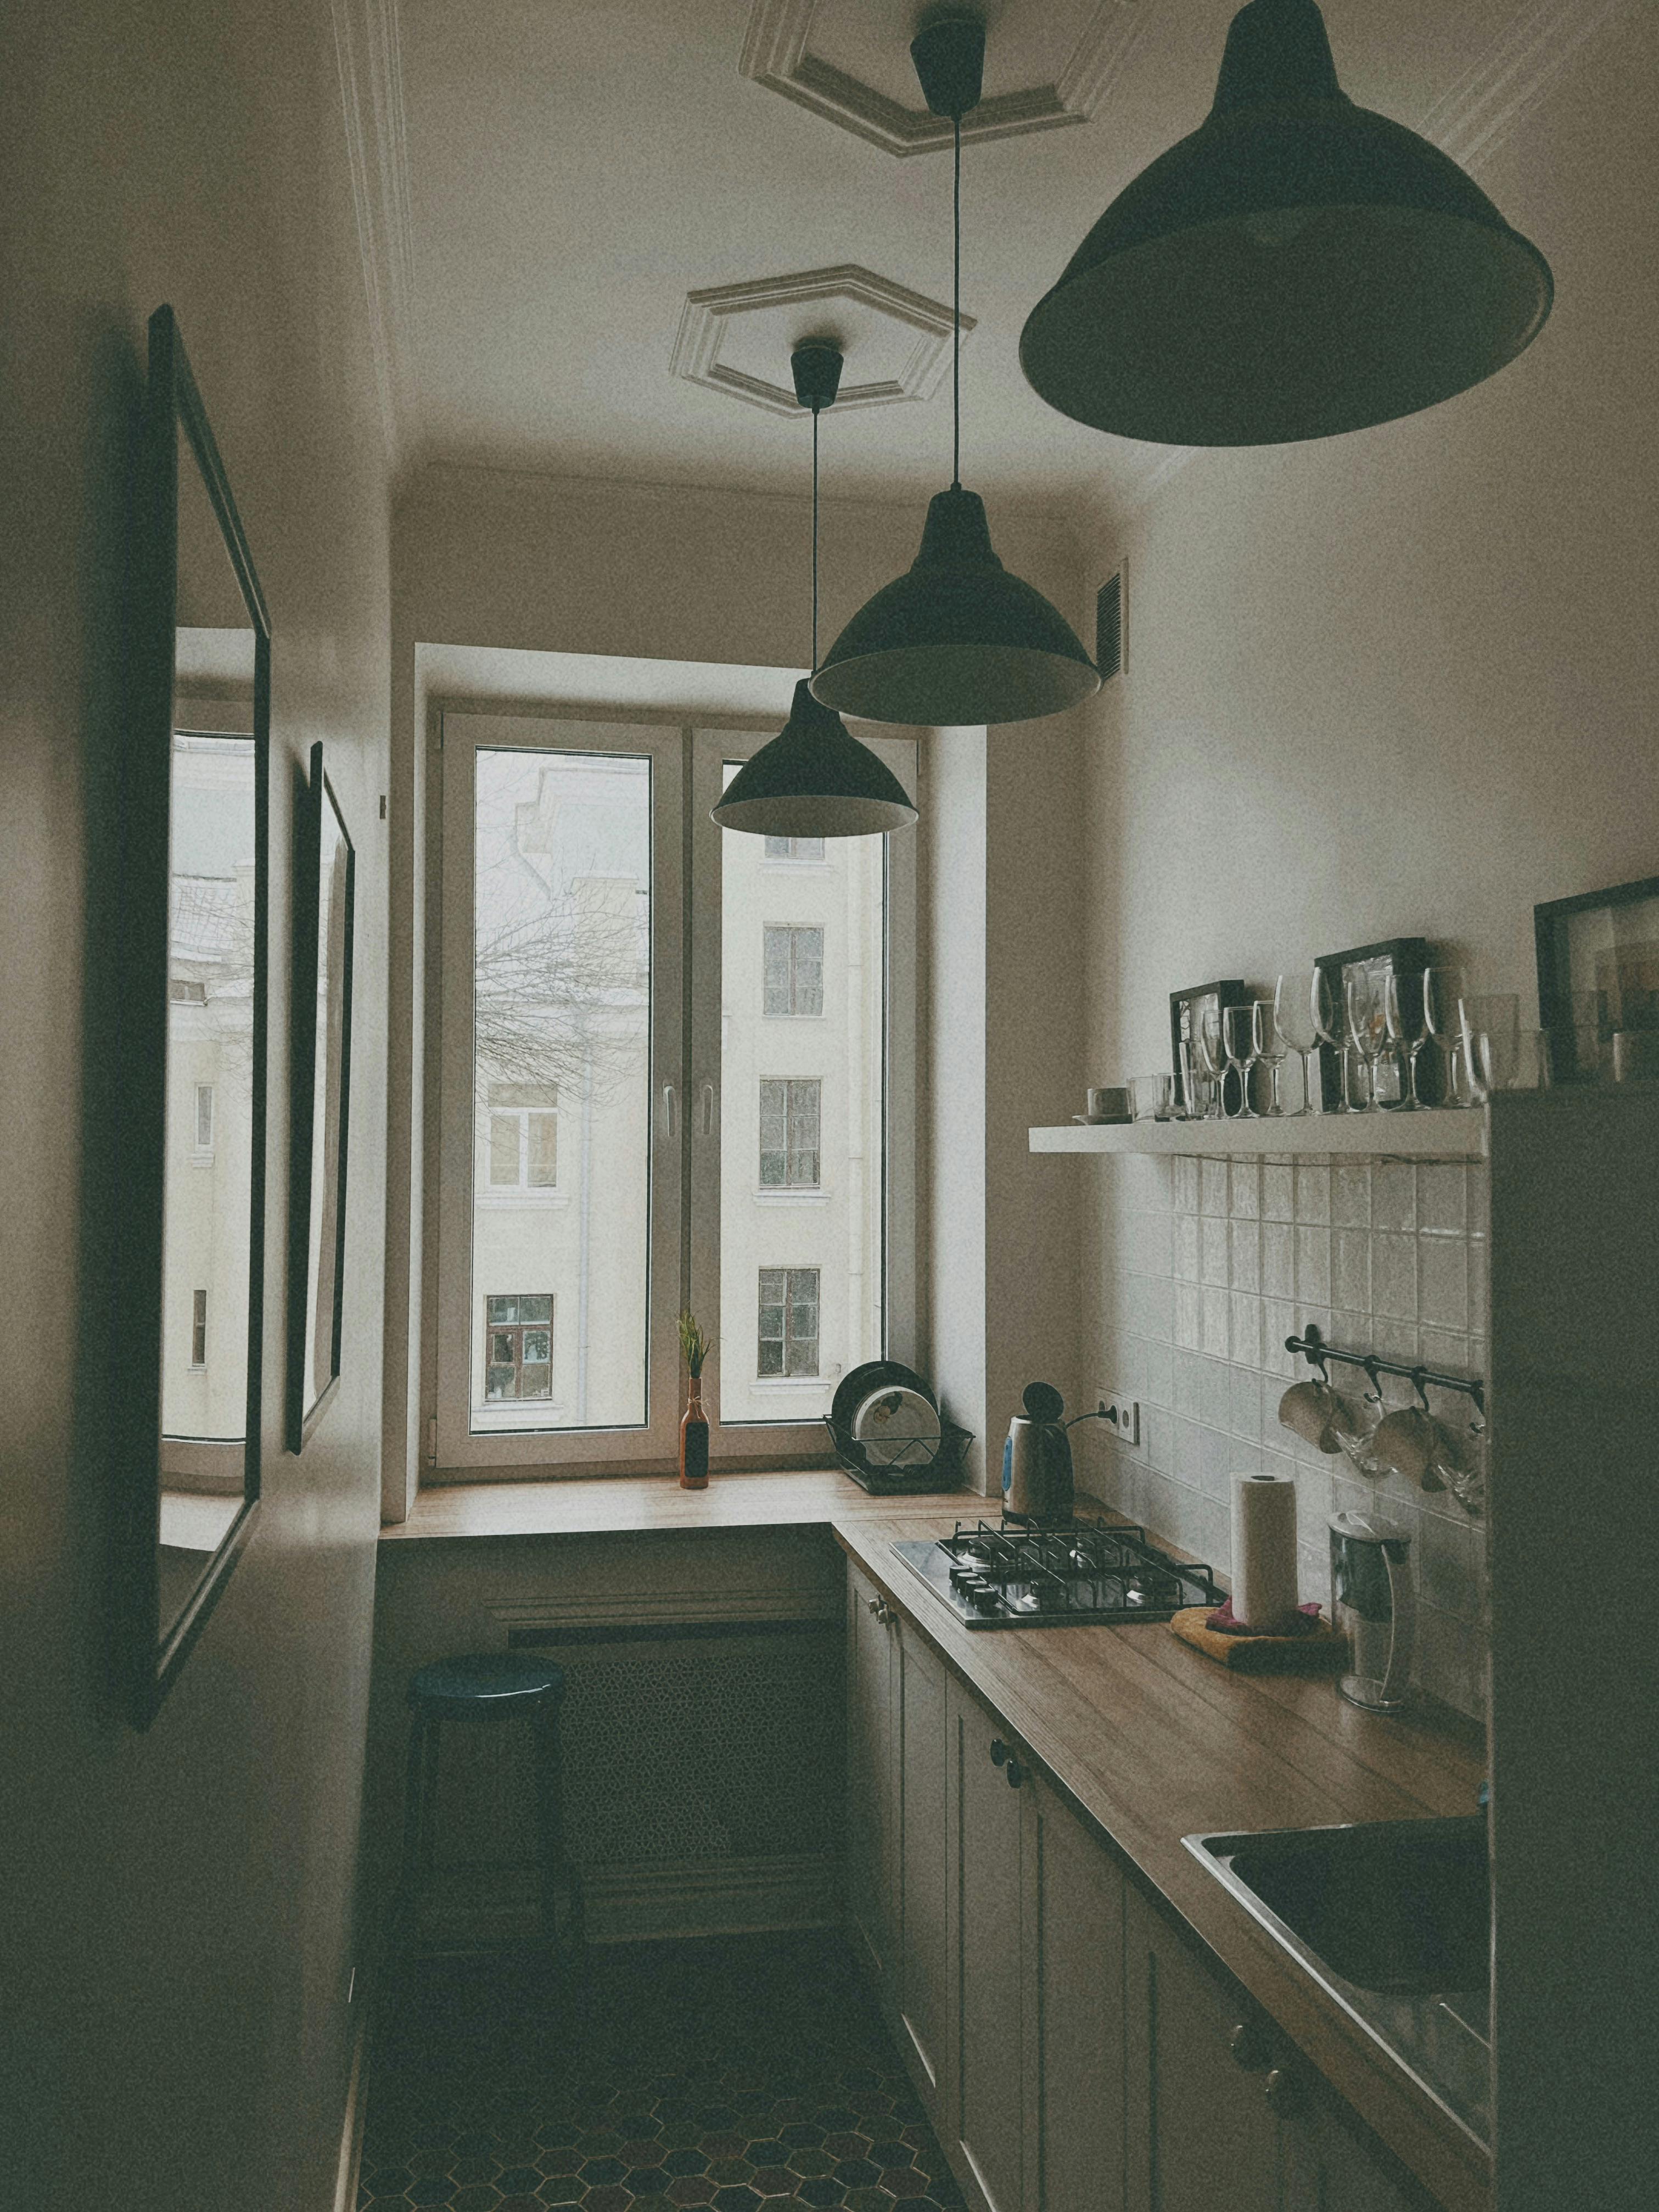
Reference photograph · pendants, daylight from tall windows and a tiled wall reading warm — three light sources doing separate jobs in one narrow room
Scope of this guide
01 The three layers
Task · ambient · feature
02 Downlights & the bench edge
Setting out · shadow
03 Under-cabinet strip
Position · diffusion
04 Pendant scale & height
Island · sightline
05 Colour temperature & CRI
Warmth · rendering · control
06 Take the plan to design
Services preparation
Three layers, planned in this order
A single ceiling layer cannot do three jobs. Separate them on paper first — what you cut on, what you move through, what you look at — and the fitting schedule writes itself.
01
Task
Light on the work surface
Under-cabinet · bench edge · cooktop
The only layer that has to be bright, and the one most often missing. It lands on the bench, not on the floor behind you, and it stays on while you prep.
02
Ambient
Light in the room
Ceiling · dimmable · even
General fill so the room reads whole after dark. Fewer fittings than most plans assume, spaced evenly and dimmed rather than switched in halves.
03
Feature
Light you look at
Pendants · glazed shelving · toe-kick
The layer that carries the character of the room. Low output, high visibility — chosen with the cabinet hardware so the metals agree.
Where the light actually lands
Downlights and the bench edge
The default ceiling grid runs down the centre of the room, which puts every downlight behind the cook. Shift the bench run of fittings forward so the beam falls near the front edge of the benchtop and your body no longer blocks it. Set them out from the joinery line rather than from the walls — period rooms in Malvern are rarely square, and a row referenced to a crooked wall will read crooked against a straight run of cabinets.
The ceiling layer only ever does half the task work. The other half sits under the wall cabinets, where the light is closest to the board and the hands.
Placement notes
Set out from the joinery
Cabinet line · not the wall line
Beam on the bench front
Shadow falls behind you, not under your hands
Diffuse every visible strip
Frosted channel · recessed · no bare tape
Check the reflection
Gloss and polished benchtops double every source
Fix it before plaster
Positions are locked at services preparation
Task layer · position · diffusion
Under-cabinet strips and diffusion
Mount the strip towards the front of the wall cabinet’s underside, not tight against the wall, so light washes the bench instead of the splashback. Recess it in a channel with a frosted diffuser, or hide it behind a shadow-line batten. Against gloss tile, polished stone or a mirrored slab, a bare LED tape shows as a line of dots — worth checking at selection, because the reflection belongs to the surface as much as to the fitting.
The zones people forget
A walk-in or butler’s pantry needs its own light on a door switch or sensor. Deep drawer banks and corner units benefit from internal light. And rangehoods vary enormously in what they throw onto the cooktop — assume the hood light is a bonus, not the task layer.
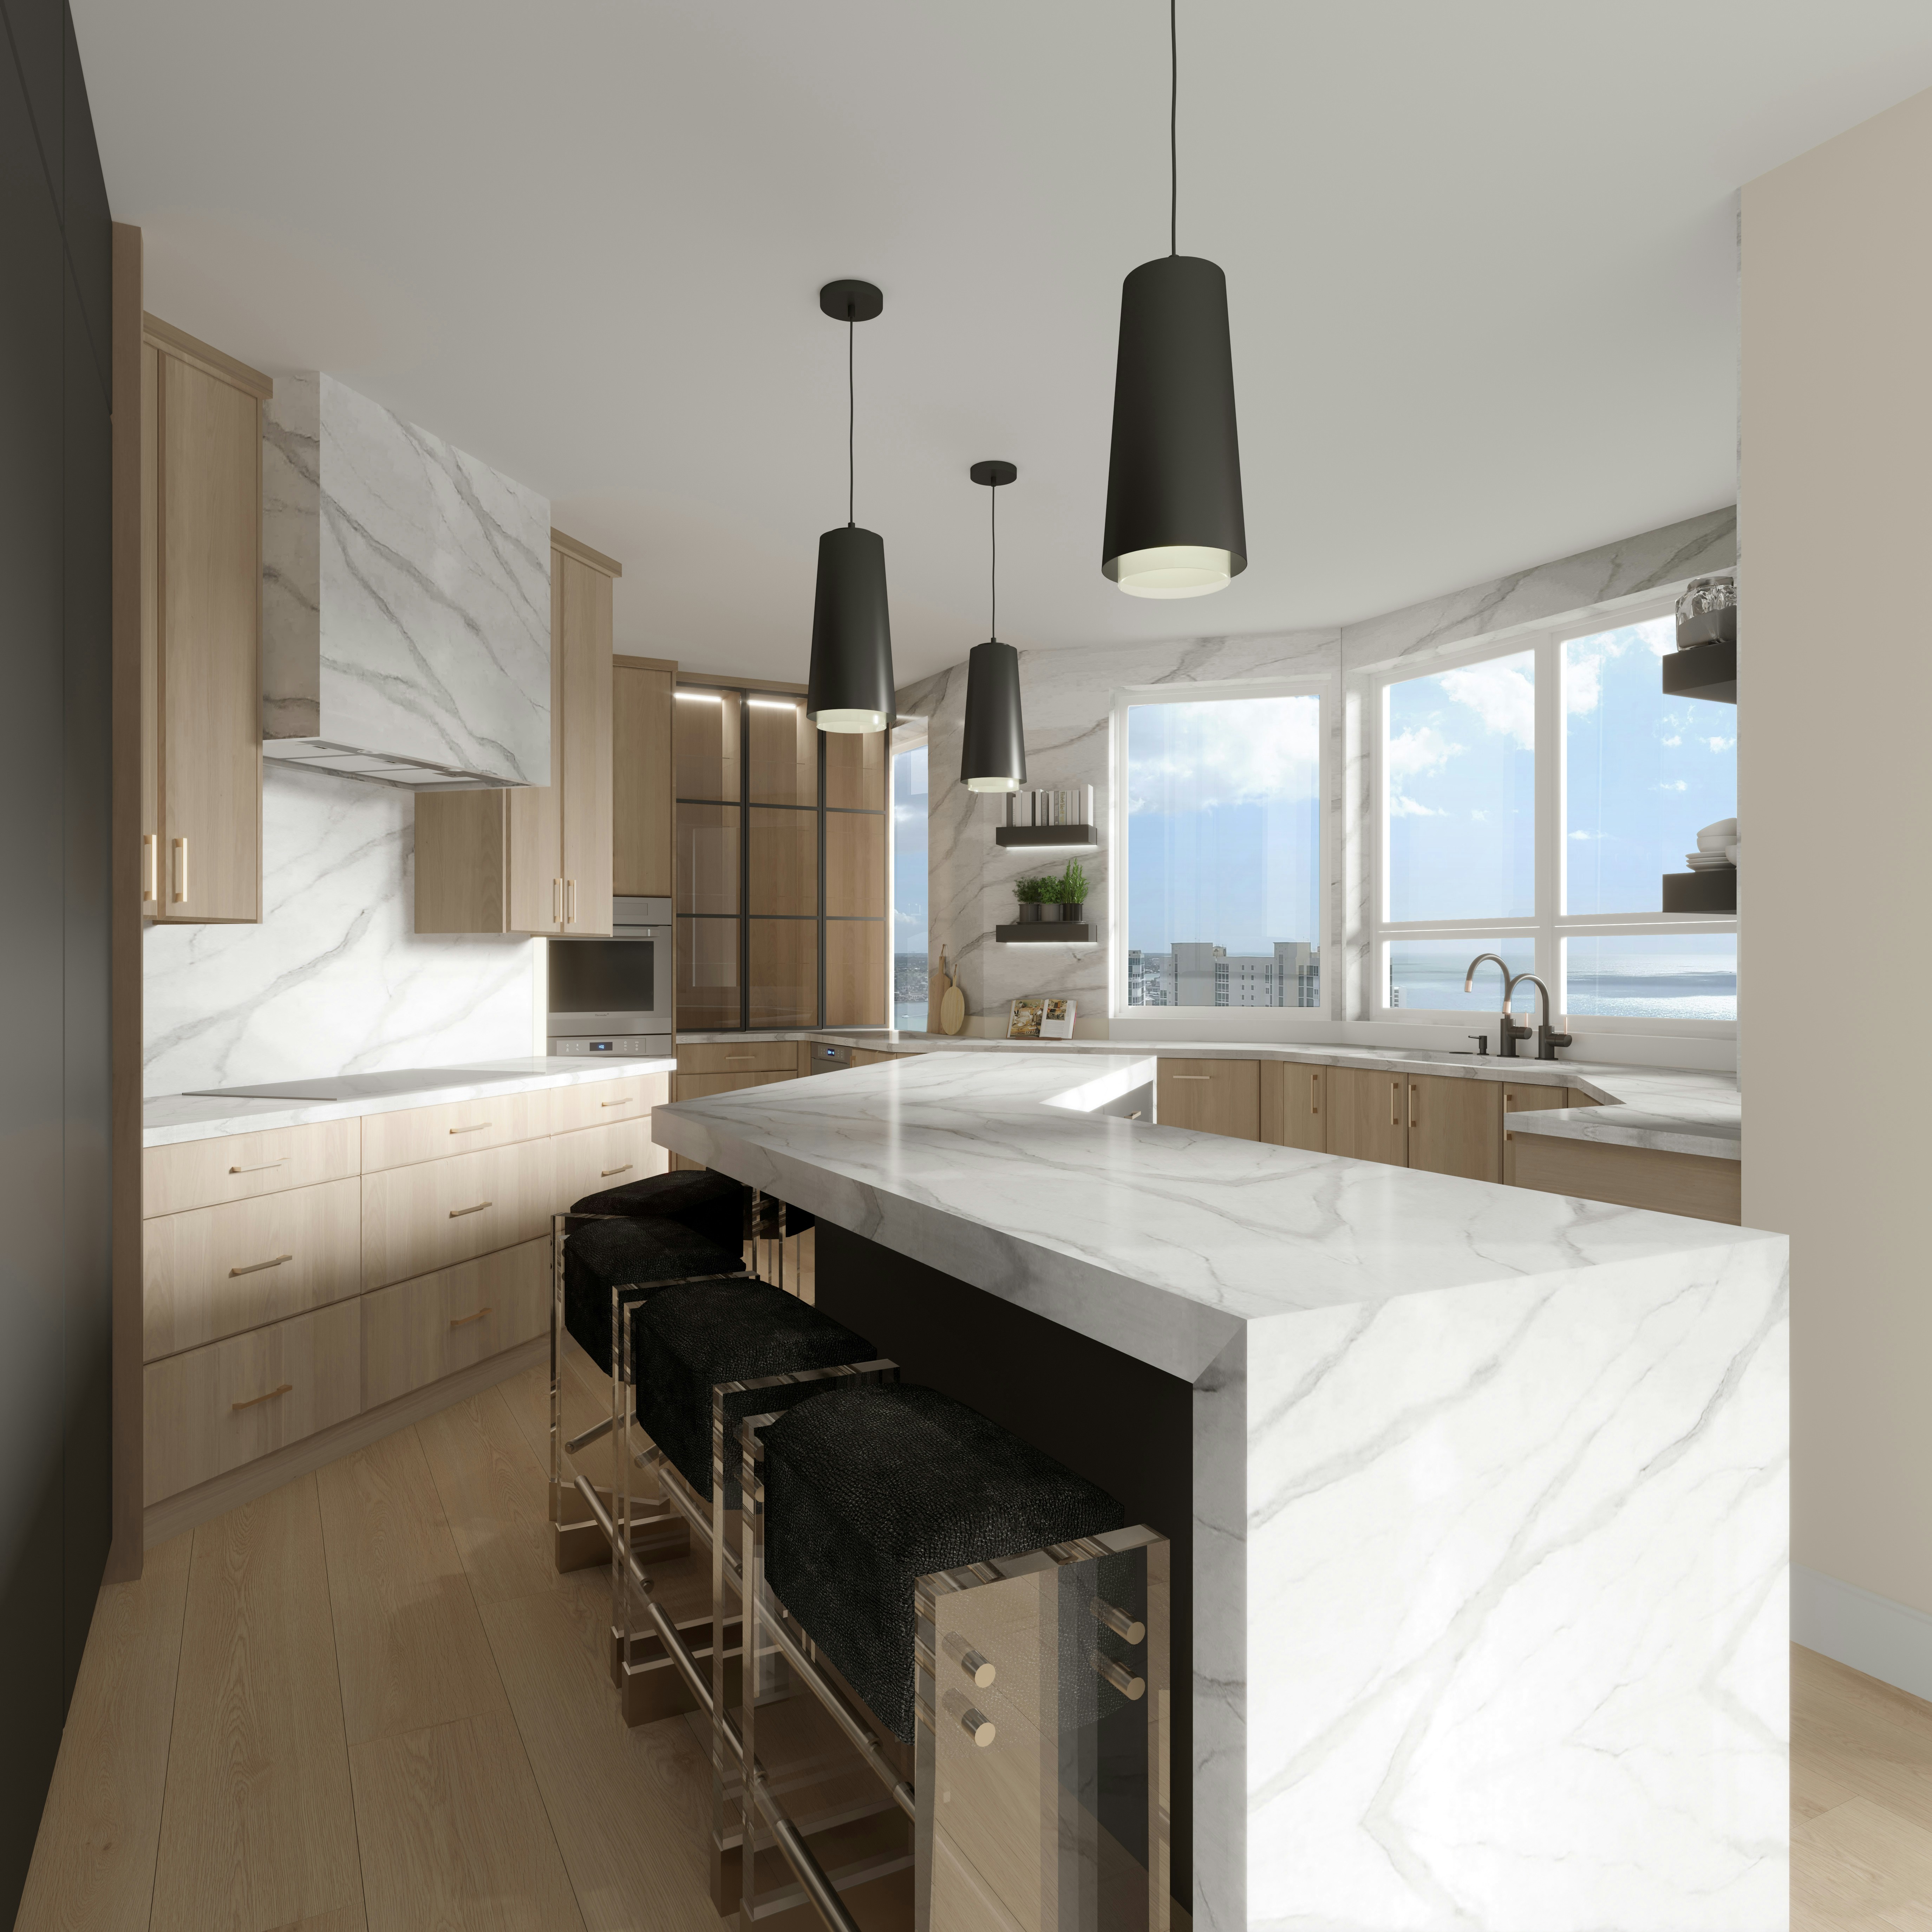
Reference photograph · dark pendants over a pale island — scale and spacing read against the bench length, not the ceiling
Pendants over an island
Pendants are sized against the island, not the room. Take the total visual width of the fittings to roughly a third of the bench length, keep them inboard of the island ends, and space them evenly from the centre line so the arrangement survives a bar stool being moved. Two generous pendants usually beat three small ones; a single linear fitting suits a long, narrow island and a low ceiling.
Height is decided by sightline. Hang them so the underside sits clear of the bench but below eye level for someone standing opposite — low enough to feel deliberate, high enough that two people facing each other can still see one another. Open-bottomed shades throw glare across a polished bench, so check the reflection before ordering; opaque or diffused shades are the safer choice over stone.
If the island carries a sink or cooktop, the pendants stop being decorative and become task light — which changes both the output and the dimming you need. That decision belongs in the design stage, alongside the layout it depends on.
Warmth · rendering · control
Colour temperature, CRI and switching
Hold one colour temperature across every fitting you can see at once — ceiling, under-cabinet and pendant. Mixed warmths are the single most common reason a finished kitchen looks off, and no amount of good joinery corrects it.
Ask for a high colour rendering index — CRI 90 or better. It is what lets timber grain, veined stone and food read as themselves rather than flattened.
Then split the circuits: ceiling, task, feature and pantry on separate switches, dimmable where it matters, with driver and dimmer confirmed as compatible before the wiring goes in.
Warm
2700K
Lamp-like · golden · restful
Suits period rooms, timber fronts and kitchens that open onto living space. Softens cool greys and can push cream cabinetry yellow.
Neutral warm
3000K
Clean · true · the usual answer
Holds white joinery white and keeps stone veining honest without turning clinical. The safest default for a working kitchen.
Cool
4000K+
Bright · blue-leaning · task only
Reads commercial in a home kitchen and drains warmth from timber. Best confined to a pantry or laundry, if used at all.
NEXT IN THE SEQUENCE
Fix the lighting plan before the ceiling closes
Layers, positions, colour temperature and switching are all set well before cabinetry arrives — they are drawn during design and built in at the services preparation stage of our twelve-step process. Bring your layout and we will work through the fitting schedule with it.
Continue reading
Kitchen Lighting Design & Installation
Service · task, ambient and feature layers
Cabinet Ideas: Doors, Finishes & Hardware
Guide · how finishes behave under light
Splashback Ideas & Materials
Guide · reflection, gloss and grout
Kitchen Renovation Checklist
Guide · what to settle, and when
Questions about a specific room? Contact us.